LAN Configuration
111
ProSecure Unified Threat Management (UTM) Appliance
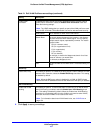
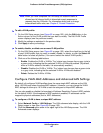
To edit a secondary LAN IP address:
1. On the LAN Multi-homing screen (see the previous screen), click the Edit button in the
Action column for the secondary IP address that you want to modify. The Edit
Secondary LAN IP address screen displays.
2. Modify the IP address or subnet mask, or both.
3. Click Apply to save your settings.
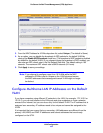
To delete one or more secondary LAN IP addresses:
1. On the LAN Multi-homing screen (see the previous screen), select the check box to the
left of each secondary IP address that you want to delete, or click the Select All table
button to select secondary IP addresses.
2. Click the Delete table button.
Manage Groups and Hosts (LAN Groups)
• Manage the Network Database
• Change Group Names in the Network Database
• Set Up Address Reservation
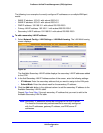
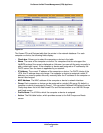
The Known PCs and Devices table on the LAN Groups screen (see Figure 59 on page 113)
contains a list of all known computers and network devices that are assigned dynamic IP
addresses by the UTM, or have been discovered by other means. Collectively, these entries
make up the network database.
The network database is updated by these methods:
• DHCP client requests. When the DHCP server is enabled, it accepts and responds to
DHCP client requests from computers and other network devices. These requests also
generate an entry in the network database. This is an advantage of enabling the DHCP
server feature.
• Scanning the network. The local network is scanned using Address Resolution Protocol
(ARP) requests. The ARP scan detects active devices that are not DHCP clients.
Note: In large networks, scanning the network might generate unwanted
traffic.
Note: When the UTM receives a reply to an ARP request, it might not be
able to determine the device name if the software firewall of the
device blocks the name.
• Manual entry. You can manually enter information about a network device.


