


Firewall Protection
179
ProSecure Unified Threat Management (UTM) Appliance
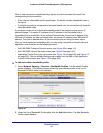
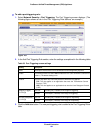
4. Click Apply to save your settings. The new schedule is added to the List of Schedules table.
You now can select the schedule when you create or change a firewall rule.
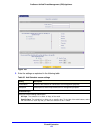
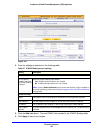
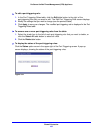
To edit a schedule:
1. In the List of Schedules table, click the Edit table button to the right of the schedule that
you want to edit. The Edit Schedule screen displays.
2. Modify the settings that you wish to change (see the previous table).
3. Click Apply to save your changes. The modified schedule is displayed in the List of
Schedules table.
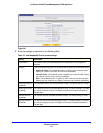
To delete one or more schedules:
1. In the List of Schedules table, select the check box to the left of each schedule that you
want to delete, or click the Select All table button to select all schedules.
2. Click the Delete table button.
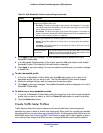
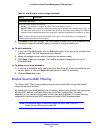
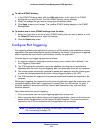
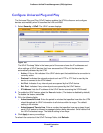
Enable Source MAC Filtering
The Source MAC Filter screen enables you to permit or block traffic coming from certain
known computers or devices.
By default, the source MAC address filter is disabled. All the traffic received from computers
with any MAC address is allowed. When the source MAC address filter is enabled,
depending on the selected policy, traffic is either permitted or blocked if it comes from any
computers or devices whose MAC addresses are listed in MAC Addresses table.
Note: For additional ways of restricting outbound traffic, see Outbound
Rules (Service Blocking) on page 129.
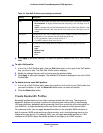
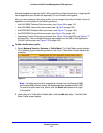
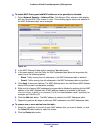
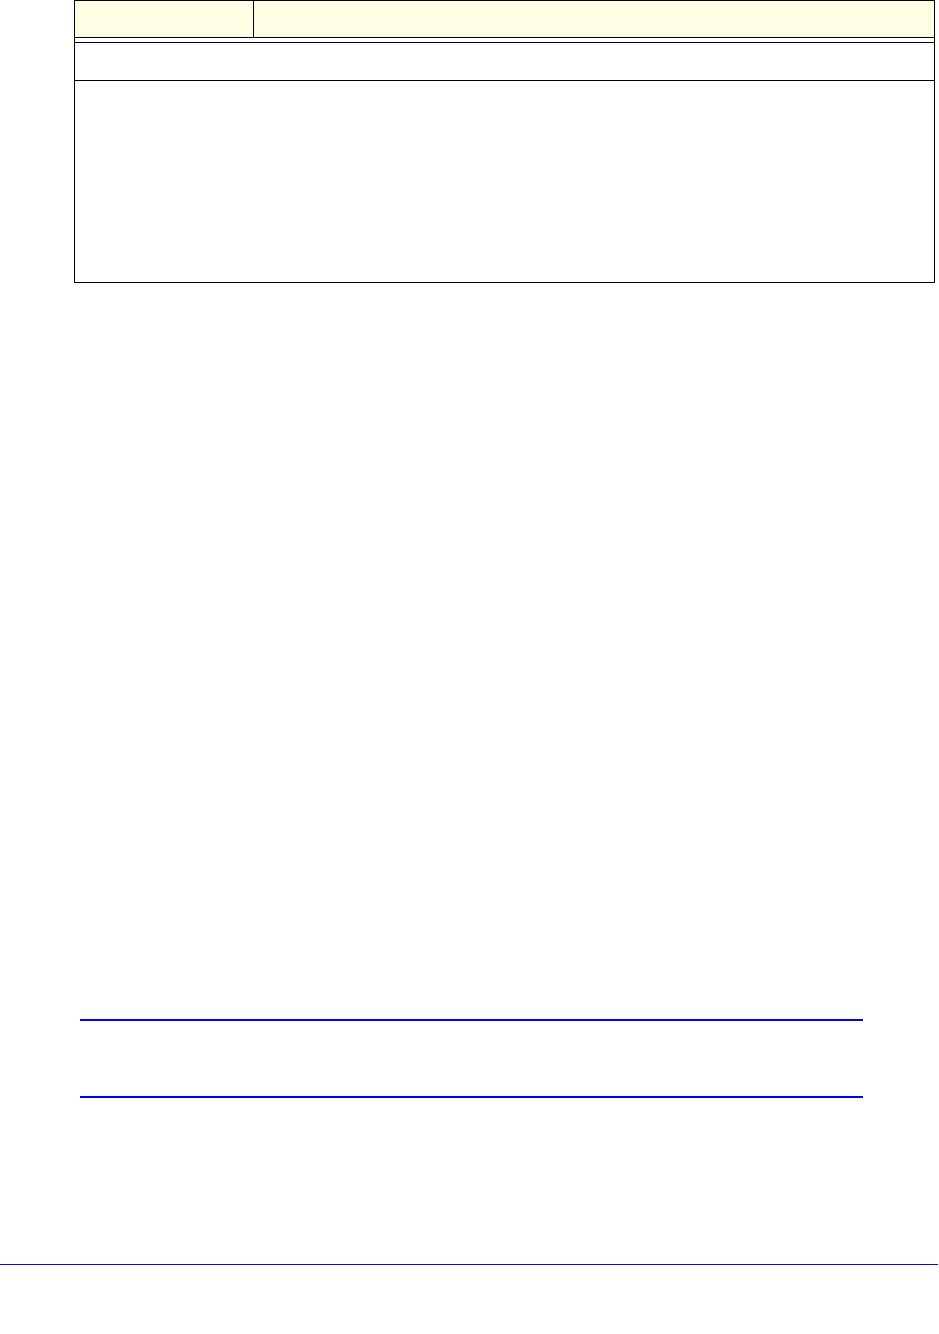
Scheduled Time of Day
Select one of the following radio buttons:
• All Day. The schedule is in effect all hours of the selected day or days.
• Specific Times. The schedule is in effect only during specific periods of the selected day or days. To
the right of the radio buttons, fill in the Start Time and End Time fields (Hour, Minute) and make a
selection from the AM/PM drop-down lists to specify the periods during which the schedule is in effect.
Note: To add an another period to the schedule, click + (plus). This option allows you to specify two
distinctive periods within one 24-hour period.
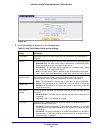
Table 36. Add Schedule screen settings (continued)
Setting Description