Virtual Private Networking Using SSL Connections
339
ProSecure Unified Threat Management (UTM) Appliance
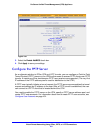
2. Select the SSL VPN Wizard radio button.
3. Click Next. The first SSL VPN Wizard screen displays.
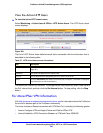
The following sections explain the five configuration screens of the SSL VPN Wizard. On the
sixth screen, you can save your SSL VPN policy.
The tables in the following sections explain the buttons and fields of the SSL VPN Wizard
screens. Additional information about the settings in the SSL VPN Wizard screens is
provided in Manually Configure and Modify SSL Portals on page 357 or in other chapters.
Each of the following sections provides a specific link to a section in Manually Configure and
Modify SSL Portals on page 357 or to a section in another chapter.
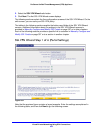
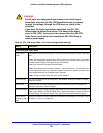
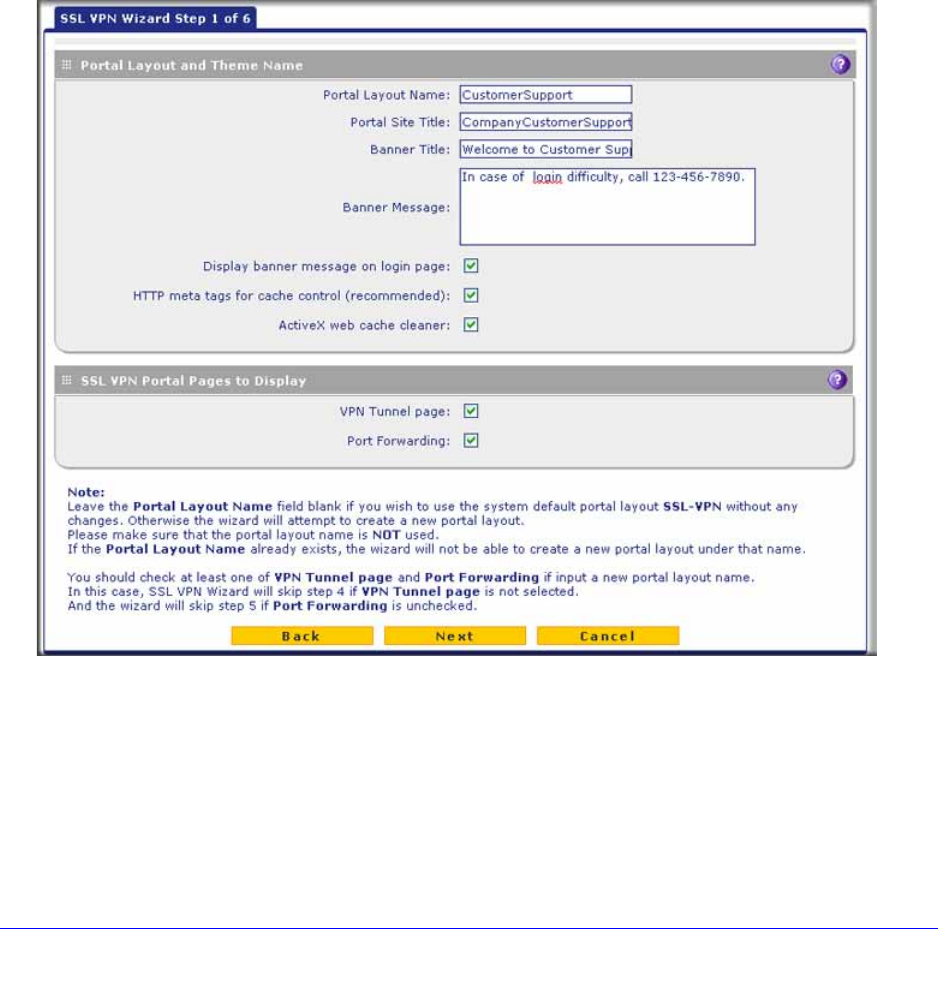
SSL VPN Wizard Step 1 of 6 (Portal Settings)
Figure 204.
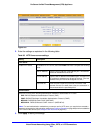
Note that the previous figure contains a layout example. Enter the settings as explained in
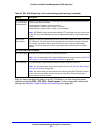
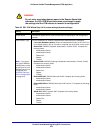
the following table, and then click Next to go the following screen.


