


114
BASIC EDITING TECHNIQUES CHP. 4
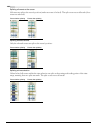
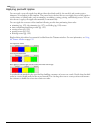
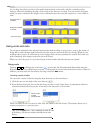
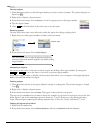
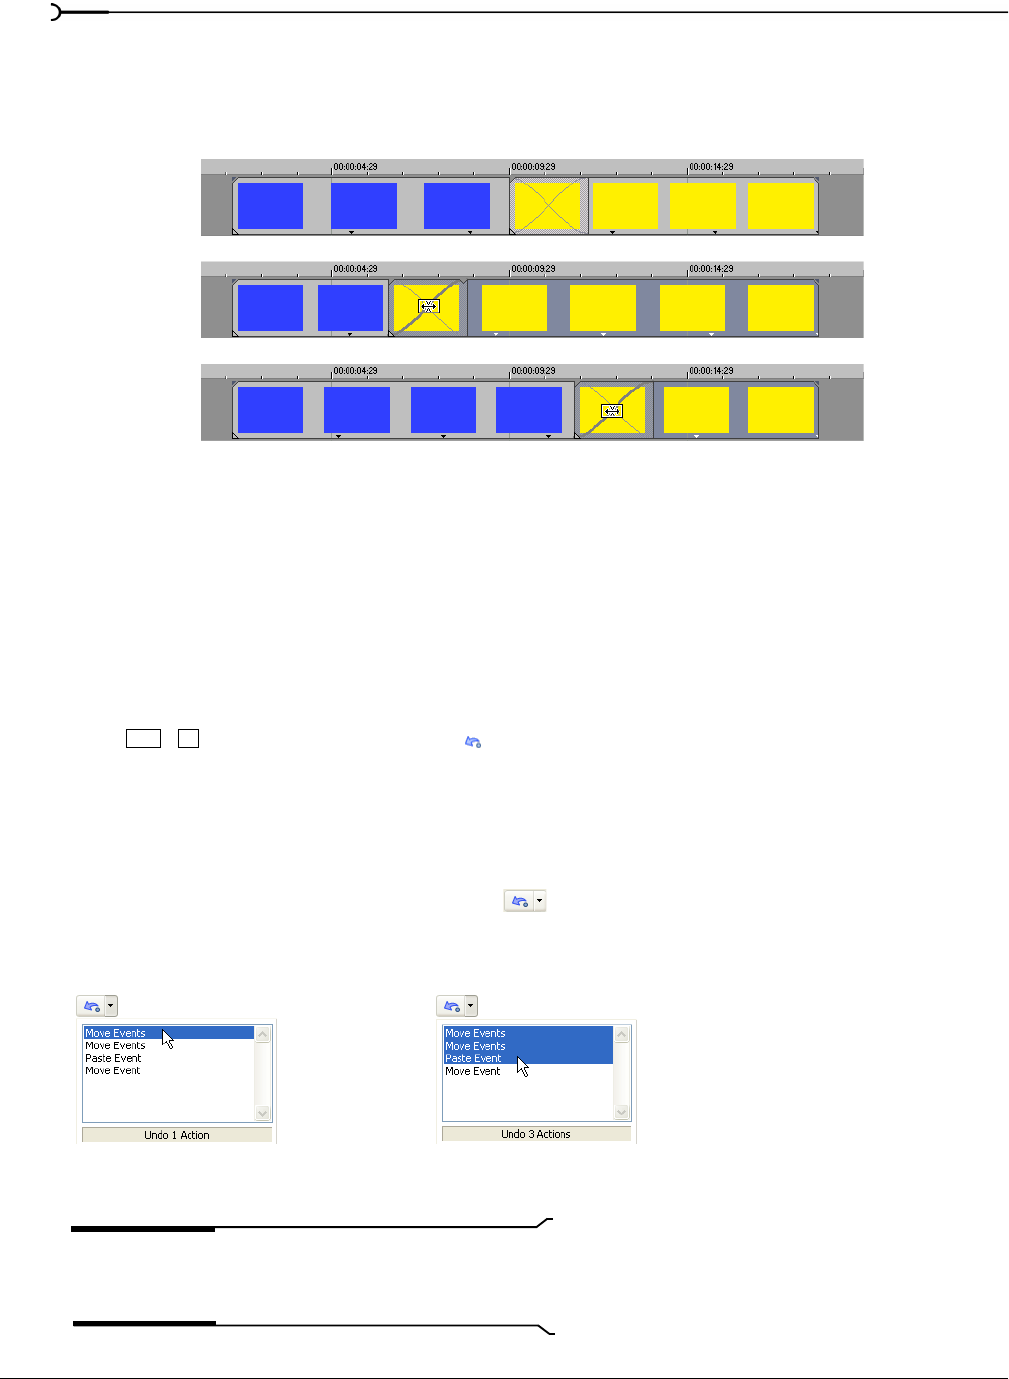
As you drag, the relative position of the media remains fixed on the track, and the crossfade position
changes, effectively trimming the edge of the event in the direction you drag. You can use this technique
when you want to maintain the length of two combined events but want the transition to occur earlier or
later.
Using undo and redo
You are given unlimited undo and redo functionality while working on your project, even to the extent of
being able to undo changes made before the last time a project was saved (but not closed). While you are
working with a project, an undo history of the changes that you have performed is created. Each time you
undo something, that change is placed in the redo history.
When you close the project or exit the software, both the undo and redo histories are cleared.
Using undo
Pressing or clicking the Undo button ( ) reverses the last edit performed. Repeatedly using the
keyboard command or toolbar button continues undoing edits in reverse order, from most recent to oldest. In
addition, you may undo the last edit by choosing it from the
Edit menu.
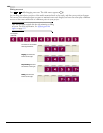
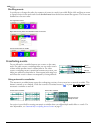
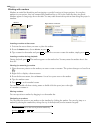
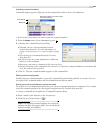
Undoing a series of edits
You can undo a series of edits by using the drop-down list on the Undo button.
1.
Click the arrow to the right of the Undo button ( ).
2.
From the drop-down list, choose the edit that you want to undo. Items above it (subsequent edits) are
selected automatically. Your project is restored to the state prior to those edits.
When you undo an edit or a series of edits, they are added to the redo history. This feature allows you to
restore your project to a previous state.
Tip:
From the Edit menu, choose Undo All to undo all edits
in the history. All edits are undone and added to the redo
history.
Two events with a
crossfade.
Sliding the crossfade
to the left...
...and to the right.
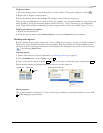
Ctrl
+Z
Use the mouse
to select
a series of edits.