


CHP. 5 ADVANCED EDITING TECHNIQUES
131
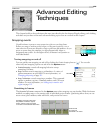
Previewing and selecting takes
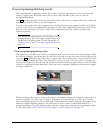
You can preview the takes for a given event.
1.
Select an event containing multiple takes.
2.
Right-click to display a shortcut menu or, from the Edit menu, choose Take to display a submenu.
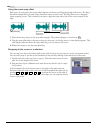
3.
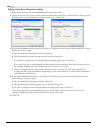
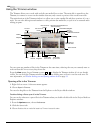
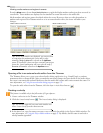
Choose Choose Active... from the submenu. The Take Chooser
dialog appears.
4.
Select the take that you want to preview and use the Play ( ) and
Stop ( ) buttons within the dialog.
5.
To use a take, select it and click OK. The selected take is now the
active take.
Deleting takes
You can delete individual takes from an event at any time.
1.
Right-click an event with multiple takes.
2.
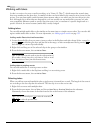
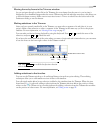
From the shortcut menu, choose Ta ke , and choose Delete Active from the submenu to immediately remove
the active take. Alternately, choose
Delete to open a dialog with a list of all of the takes contained in this
event.
Working with take names
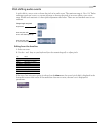
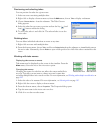
Displaying take names on events
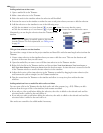
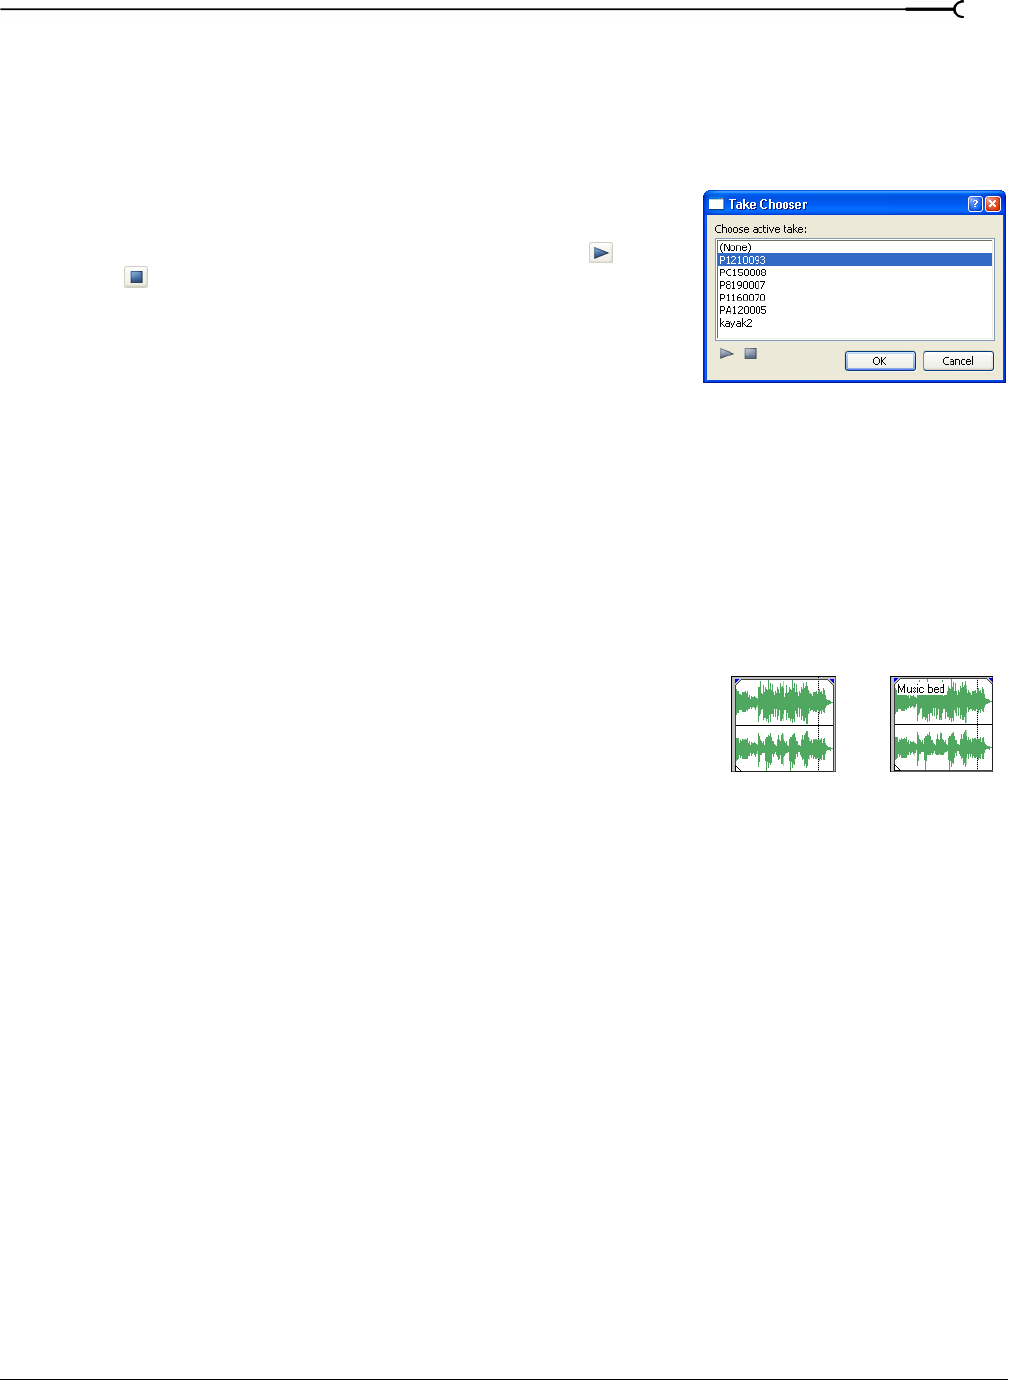
Take names may be displayed on the events in the timeline. From the
View menu, choose the Active Take Information option.
Changing take names
Changing the name of a take does not affect the source media file in
any way. Typically, you may want to change an event’s name after
recording multiple takes into a track or event. For more information, see Working with multiple recorded takes on
page 206.
1.
Select the take to be renamed. For more information, see Selecting takes on page 130.
2.
Right-click the event to display a shortcut menu.
3.
From the shortcut menu, choose Properties. The Properties dialog opens.
4.
Type the new name in the Active take name box.
5.
Click OK to set the new take name.
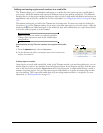
Without take name With take name