


CHP. 2 GETTING STARTED
67
Notes:
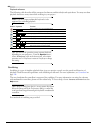
• The output from the nested project’s master bus is used to create the audio event. If you nest a 5.1
surround project, the audio event will be a stereo downmix of the surround master bus.
• Audio events from nested projects cannot be edited in a sound editor.
• The audio from a nested project will require that a proxy file be built. To avoid building proxy files, delete
audio from nested projects and use the master project to create your audio.
• Markers and regions in the nested project are displayed in the timeline as media markers in the event.
• Prerendered video from a project will be used when that project is nested in another project’s timeline.
• You can edit a nested project by right-clicking the event in the timeline and choosing Edit Source Project
from the shortcut menu. A new Vegas window will open to allow you to edit the project.
Playing back and previewing
You can play back your project in two ways: directly from the timeline from within the software or by mixing
the entire project to a preview file.
Playing your project
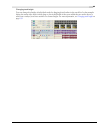
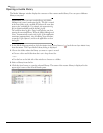
The transport bar allows you to play back your entire project or portions of your project based on a time
selection or the current cursor position.
If your project includes video, make sure the Video Preview window is displayed for playback: from the View
menu, choose
Video Preview or press .
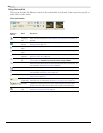
Playing an entire project
1.
Click the Play From Start button ( ) to begin playback at the beginning of the project.
2.
Click the Stop button ( ) to stop playback.
Most of the time, you will only want to preview a small portion of the project to perfect a section. You can
do this by creating a time selection.
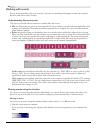
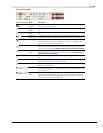
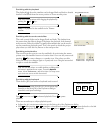
Playing a time selection
1.
Place the mouse pointer above the ruler on the marker bar. The mouse pointer
changes to include a left/right arrow cursor (
).
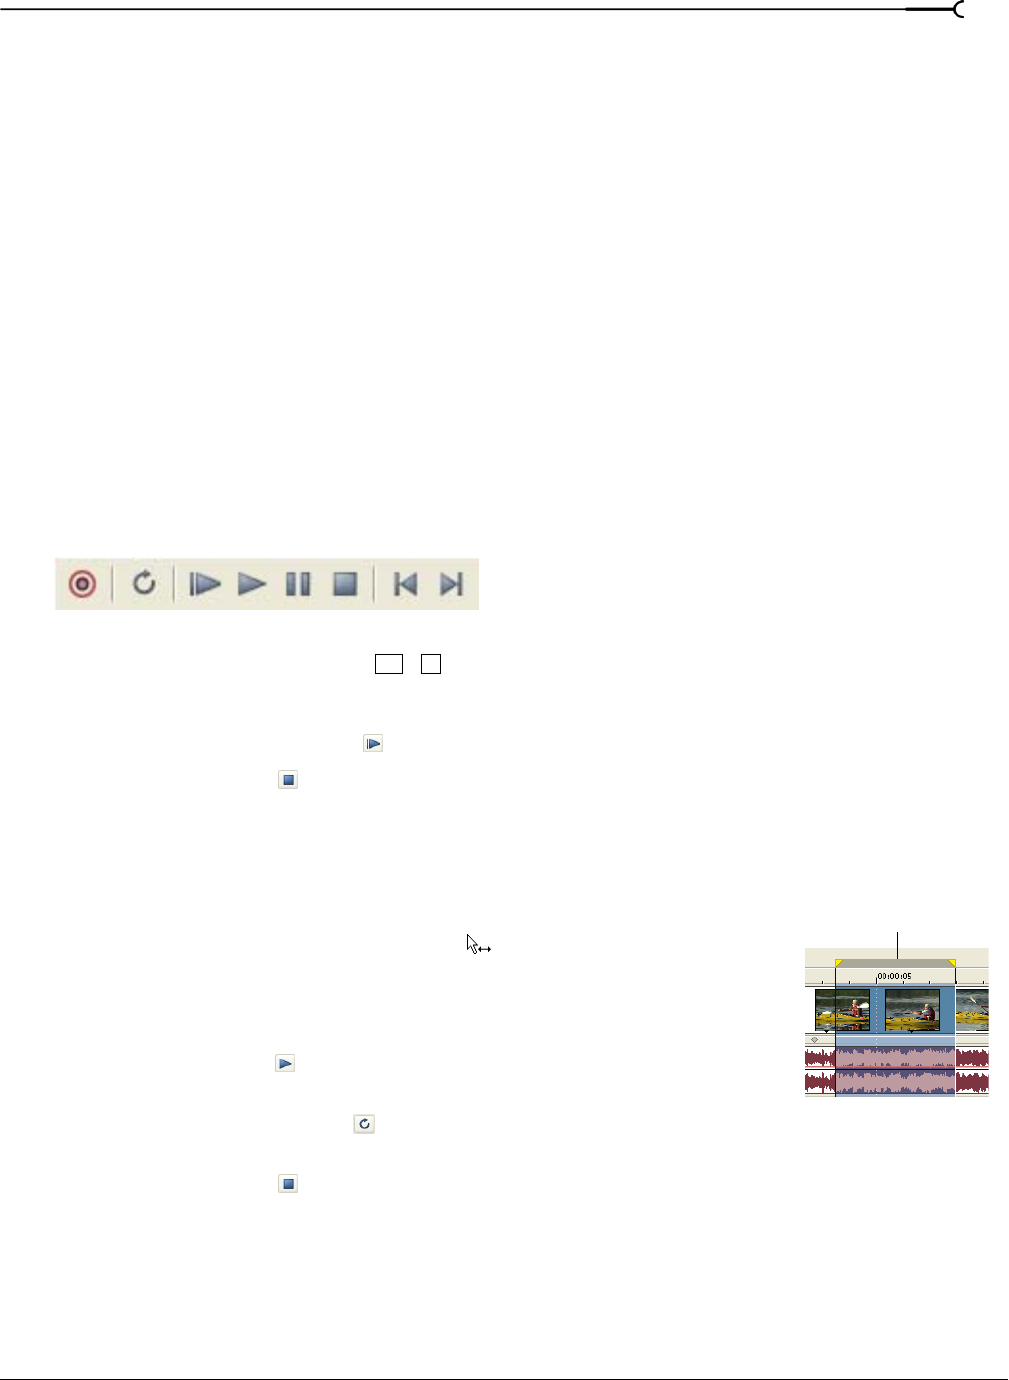
2.
Drag to select the time region. To increase or decrease the time selection, drag
its start and end points. The time selection is highlighted and the loop bar
appears above the ruler on the timeline.
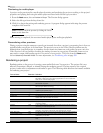
3.
Click the Play button ( ) to begin playback. Only the non-muted tracks and
events within the time selection play back.
4.
Click the Loop Playback button ( ) to continually play back the events within
the time selection. Click the button again to toggle this feature off.
5.
Click the Stop button ( ) to stop playback.
By looping the playback, you can repeatedly watch the same section of the project over and over as you make
changes to filters and effects in real time. You can define selection areas automatically, depending on what
you would like to preview. For more information, see Selecting a time range on page 97 and Time selection
commands on page 33.
Alt +6
Loop bar