


CHP. 6 WORKING WITH TRACKS
143
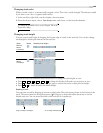
Changing track color
When you add a track, it is automatically assigned a color. This color is easily changed. This feature is useful
if you want to use color to organize similar tracks.
1.
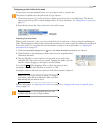
In the track list, right-click a track to display a shortcut menu.
2.
From the shortcut menu, choose Track Display Color, and choose a color from the submenu.
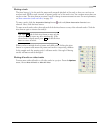
To change the available colors, use the Display Tab in the
Preferences dialog.
Changing track height
You can control track height by dragging the bottom edge of a track in the track list. You can also change
track height by clicking the buttons on the track list.
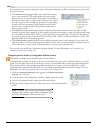
You can also use several different keyboard shortcuts to change all track heights at once:
• Press or to change the height of all tracks in your project at once.
• Press to minimize all tracks. Press the key again to restore the tracks to their previous height.
• Press to make all tracks the default height.
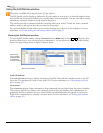
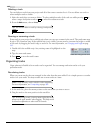
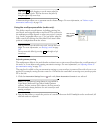
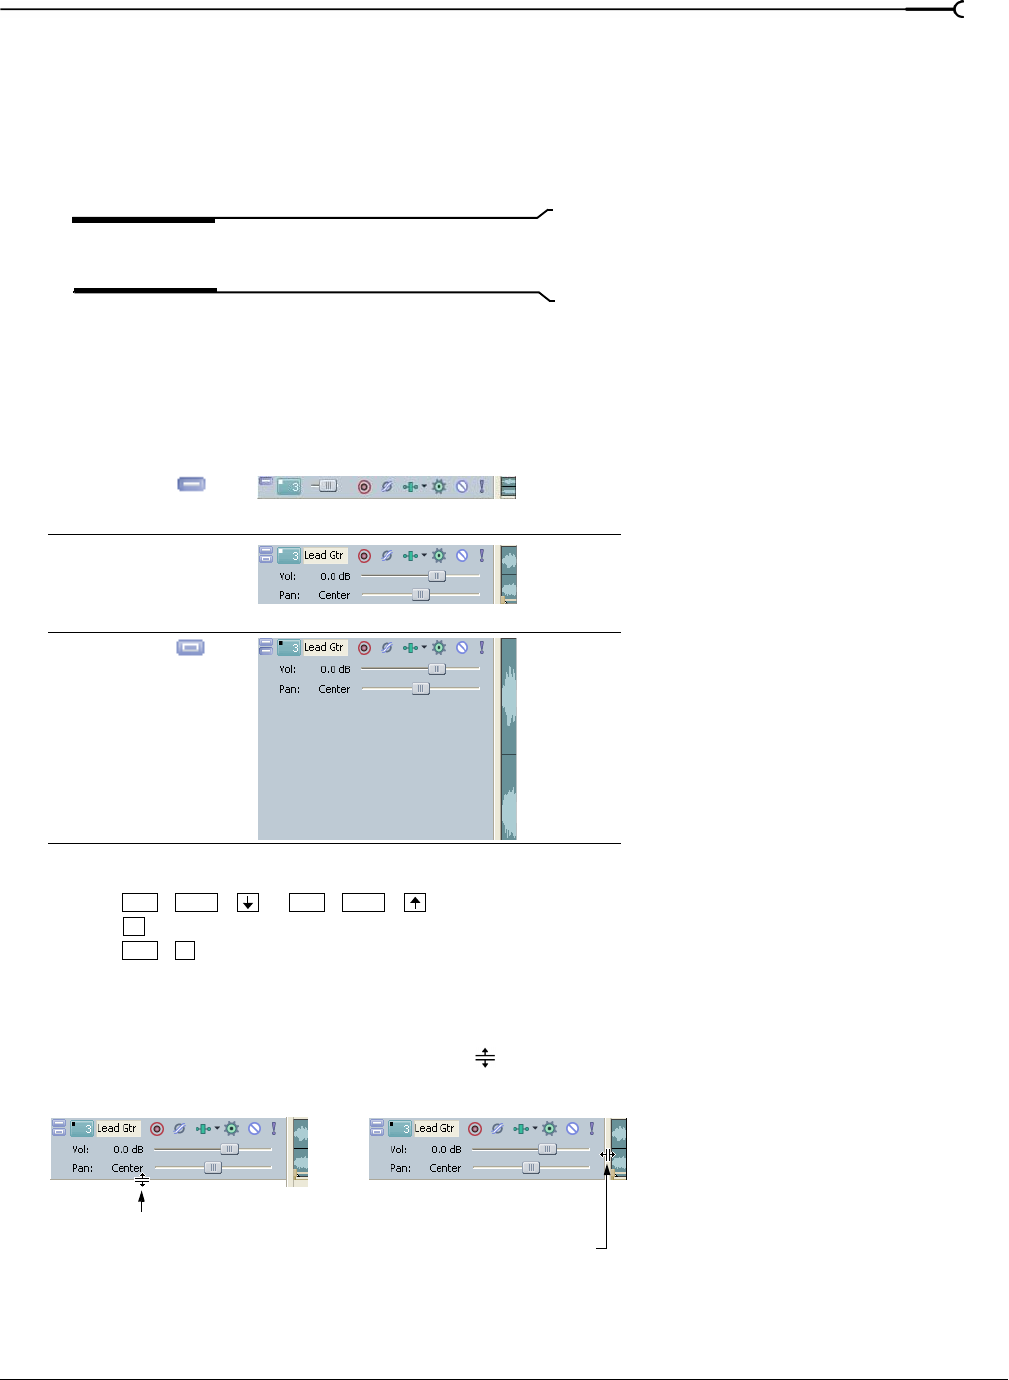
Resizing a track
You can resize a track by dragging its bottom or right border. Place the mouse pointer at the bottom of the
track. The cursor turns into an up/down arrow (
). Drag up or down and release the mouse to set the
desired track size. You can resize the width of the track list in a similar way.
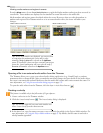
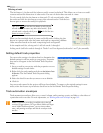
Action Button Resulting Track height
Minimize/
Restore
Track Height
Restored Track Height
Maximize/
Restore
Track Height
Ctrl +Shift+ Ctrl +Shift+
`
Ctrl +`
Drag to change track height... ...or to change track list width.