


360
BURNING CDS CHP. 19
3.
Select recording options for your CD-recordable drive:
a.
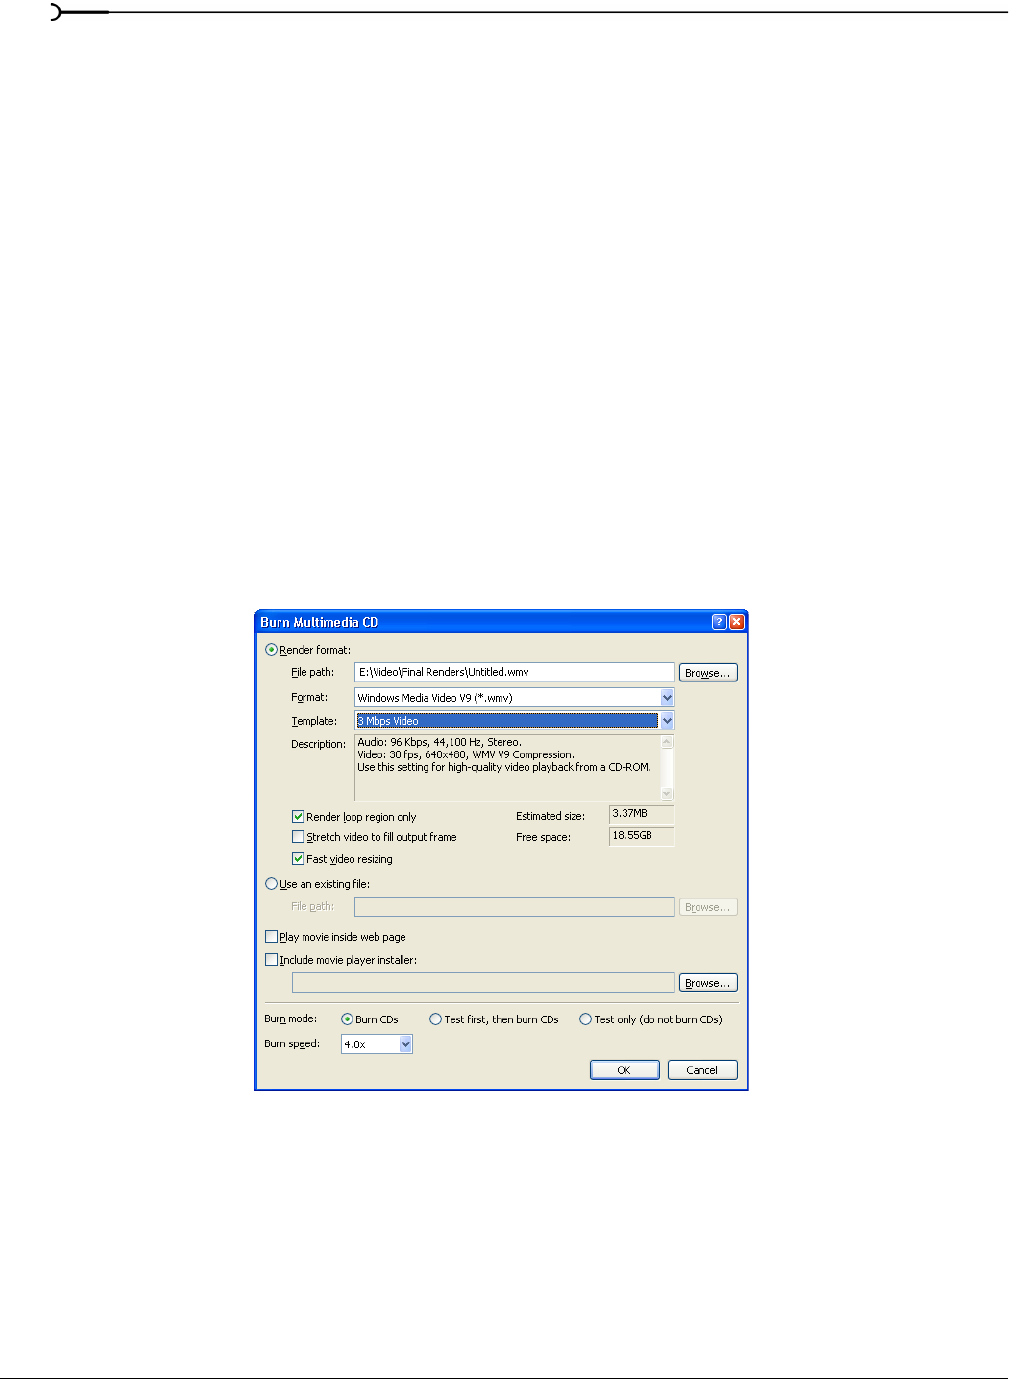
Choose a burn mode:
•Burn CDs begins recording audio to your CD immediately.
•Test first, then burn CDs performs a test to determine whether your files can be written to the CD
recorder without encountering buffer underruns. No audio is recorded to the CD during the test, and
recording begins after the test if it is successful.
•Test only (do not burn CDs) performs a test to determine whether your files can be written to the CD
recorder without encountering buffer underruns. No audio is recorded to the CD.
b.
From the Burn speed drop-down list, choose the speed at which you want to record. Max will record
using the fastest speed possible with your drive; decrease the speed if you have difficulty recording.
4.
Your movie is recorded to the CD. When recording is finished, you can select the Save movie file check box
to keep the MPEG file that was rendered, or you can clear the check box to delete the file.
5.
Click Finish.
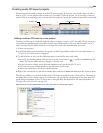
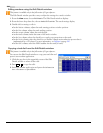
Creating a multimedia CD
From the Tools menu, choose Burn CD and choose Multimedia CD from the submenu to render your project
and burn it to a data CD. The rendered project can be played in any computer with the appropriate player.
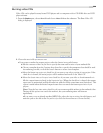
1.
From the Tools menu, choose Burn CD, and choose Multimedia CD from the submenu. The Burn
Multimedia CD dialog appears.