


268
ADDING VIDEO TRANSITIONS AND MOTION CHP. 15
Using transition effects
Transition effects are more complex than a simple cut or crossfade. You can replace a crossfade with a
transition and then customize the transition to meet your needs.
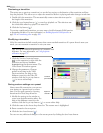
Tip:
Select the Event Fade Lengths option on the View menu
to display fade lengths between selected and nonselected
events in the timeline. You can use this display as a quick
indicator of a transition’s length.
Adding a transition
1.
Insert a video event onto the timeline.
2.
Insert another event so that it overlaps the first to create an
automatic crossfade.
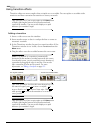
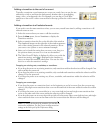
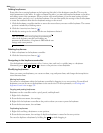
3.
In the Transitions window, browse for a transition effect. If the
Transitions window is not visible, choose
Transitions from the
View menu.
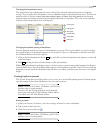
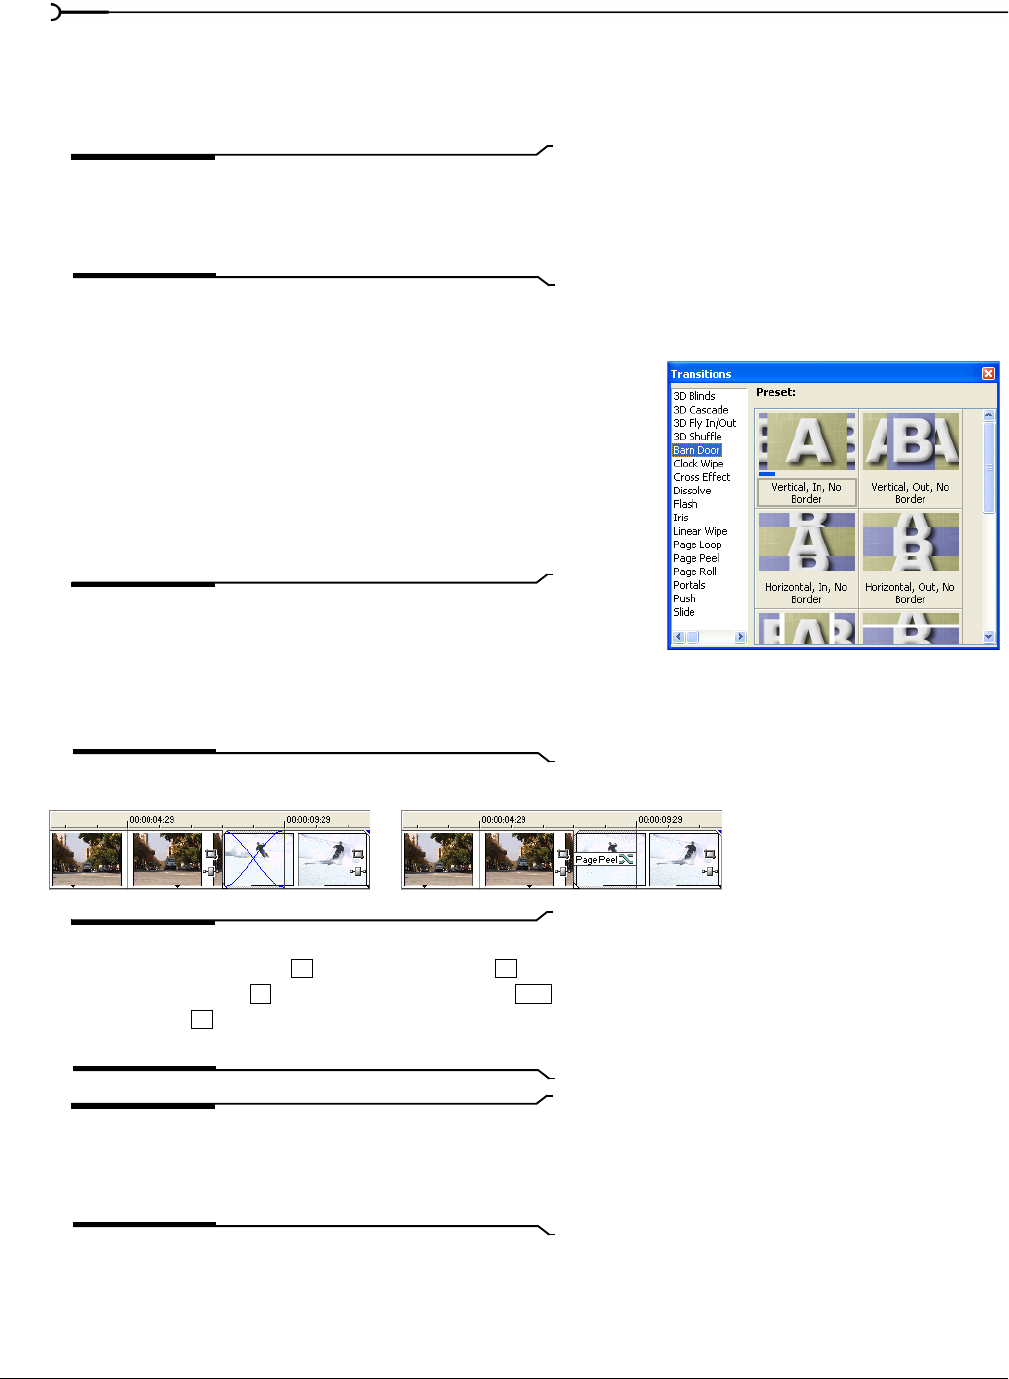
4.
Drag the effect onto the crossfade between the two events.
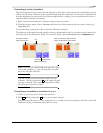
Note:
The duration of a transition is automatically
determined by the amount of overlap between the two events.
As with other events, you can control the precise duration of
a transition by dragging the edges in and out. You can also
slide a transition for more precise control. For more
information, see Sliding a crossfade on page 113.
Tip:
Some transitions also have their own shortcut keys. On
the numeric keypad, press
to insert a crossfade, to
insert a dissolve, and
to insert a linear wipe. Hold
while pressing
to convert the transition to a cut at the
cursor position.
Tip:
Select the Event Fade Lengths option on the View menu
to display fade lengths between selected and nonselected
events in the timeline. You can use this display as a quick
indicator of a transition's length.
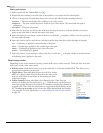
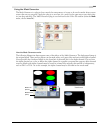
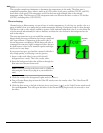
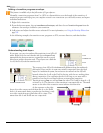
The original crossfade... ...and the new transition effect.
/
*
-
Ctrl
/