CHP. 13 USING ADVANCED VIDEO FEATURES
225
1.
Click the Event Pan/Crop button ( ) on the event.
2.
Drag the handles (small boxes) located around the perimeter of the selection area to change the size.
3.
Move the mouse to middle of the selection area until the cursor changes to a move icon ( ). Drag the
selection area to reposition it.
Be aware of the following as you crop a video event:
• To keep the selection area centered as you resize, select the Size About Center button ( ).
• To maintain the proportion of the selection area, select the Lock Aspect Ratio button ( ).
• To prevent distortion of the source media file, ensure that Maintain aspect ratio is is set to Yes.
• To restore the selection area to full frame, right-click the image and choose Restore from the shortcut
menu.
• To set the selection area to a standard aspect ratio proportion, choose a preset from the Preset drop-down
list.
• When using photographs or other media that is not the same frame aspect as your video, you'll see black
bars on the sides or above and below the image. To create a crop rectangle that matches the project frame
aspect, right-click the image and choose
Match Output Aspect from the shortcut menu.
The cropping occurs instantly and the results are updated in the Video Preview window. Cropping applies to
the entire event and can be animated with keyframes. For more information, see Using keyframe animation on
page 273.
Bézier masks
This feature is available only in the full version of Vegas software.
You can use the Event Pan/Crop dialog to create masks using Bézier curves. For more information, see Bézier
masks on page 260.
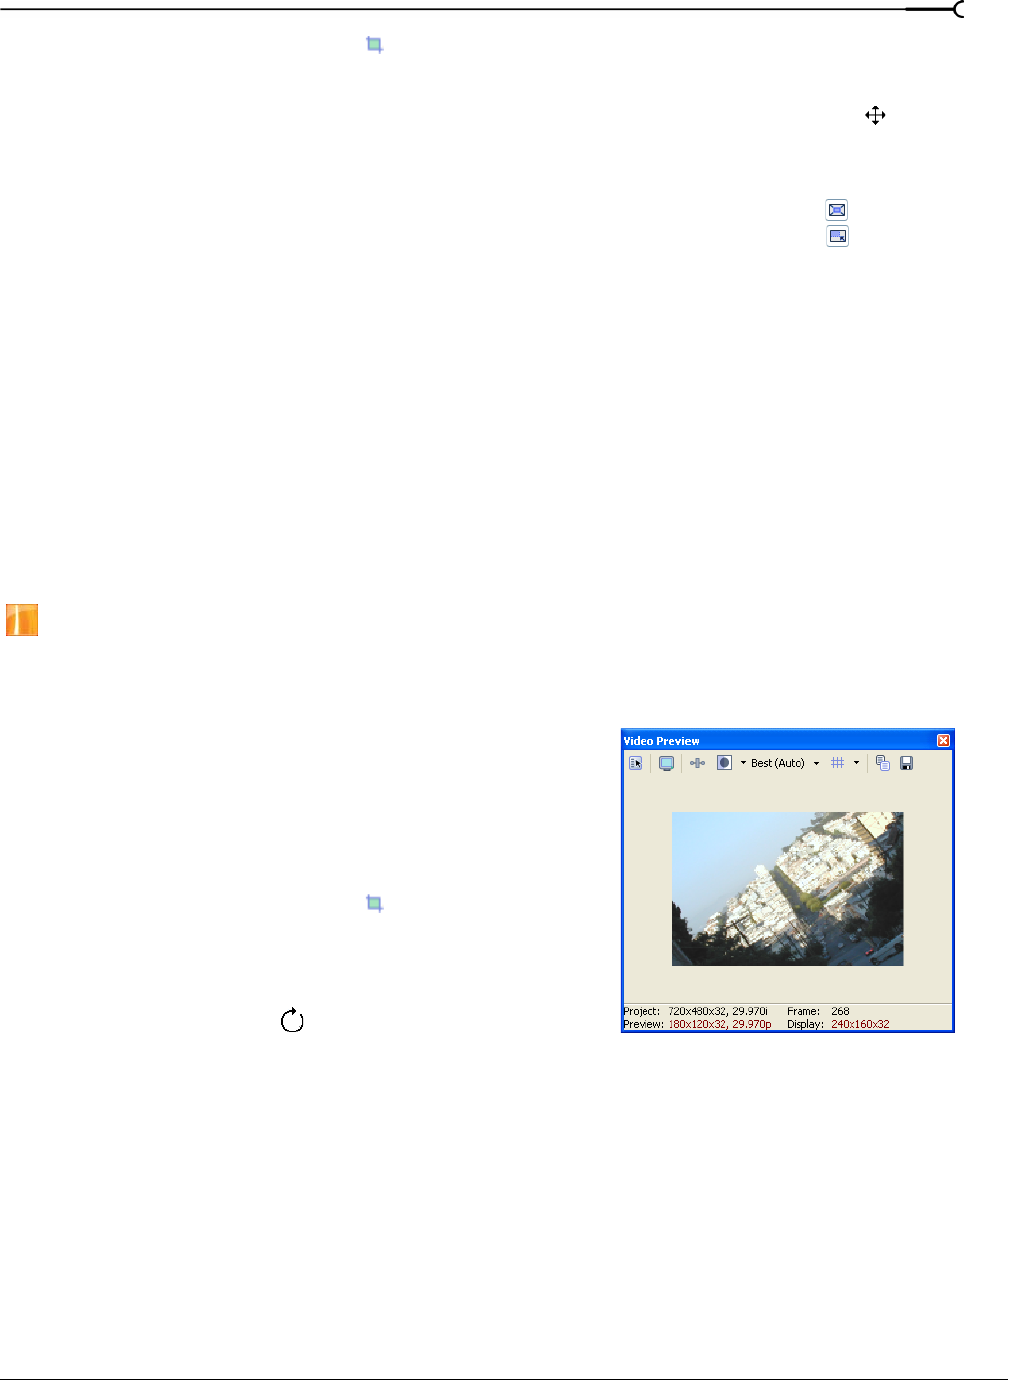
Rotating
You can also rotate the selection area in the Event Pan/Crop
window. If you rotate the entire frame, the background
behind the video shows through. Position, size, and rotation
can all be animated with keyframes. For more information, see
Using keyframe animation on page 273.
1.
Click the Event Pan/Crop button ( ) on the event.
2.
Resize and move the selection area as desired. For more
information, see Cropping on page 224.
3.
Move the mouse outside the selection area until it
becomes a rotate icon (
). Drag to rotate the selection
area. Alternately, you may enter precise rotation values in
the
Angle (degrees) box.
Adding animation
Keyframe animation dramatically increases the variety of panning, zooming, and rotating effects you can
create using the Event Pan/Crop window. A later chapter provides examples of zooming in on a still image
and using pan-and-scan techniques. For more information, see Animating event panning and cropping on page
277.


