326
SAVING, RENDERING, AND PRINTING PROJECTS CHP. 17
7.
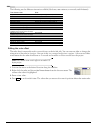
Click Finish. If you have not already prerendered, portions of your project that cannot be rendered and
printed to tape in real time will be selectively prerendered. The selected video begins printing to the
device. A progress meter appears indicating the percent completed.
Note:
The tone that you can include in the leader is fixed at -
20 dB. If you need a different tone level (to match your audio
mix), create a test pattern and tone clip that is calibrated to
your record deck.
Printing to HDV tape from the timeline
This feature is available only in the full version of Vegas software and in Vegas Movie Studio Platinum software.
Use this procedure when you’re creating an HDV project on the timeline and need to render a MPEG2
transport stream and print it to HDV tape.
1.
Load your HDV project.
2.
To print just a portion of your project, make a time selection in the timeline.
3.
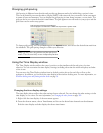
From the Tools menu, choose Print Video to HDV Tape. The HDV Print to Tape - Device page is displayed.
4.
Choose your HDV camera or deck from the Device drop-down list.
5.
Click Next. The HDV Print to Tape - Select Format/File page is displayed.
6.
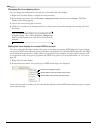
Choose render settings:
a.
Select the Render format radio button.
b.
In the File path box, type the path to the file you want to render, or click the Browse button to browse to
the folder you want to use and they type a file name.
c.
From the Templa te drop-down list, choose the setting that matches your destination format. This list
will include only formats that are supported by the selected device.
Information about the selected rendering template is displayed in the Description box.
d.
Select the Render loop region only check box if you want to print only the portion of your project that
you selected in step 2.
e.
Select the Delete file after print check box if you want to delete the rendered file after the print-to-tape
operation is finished.
7.
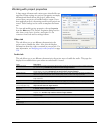
Click Next. The HDV Print to Tape - Device Control page is displayed.
8.
Select the Manual or Use device control radio button to indicate whether Vegas software will have control of
your HDV recorder:
• Select Manual if your HDV device is not OHCI-compliant or if the application is unable to obtain
device control of your HDV recorder. You will need to cue the tape and press the Record button on your
DV recorder before recording.
• Select Crash Recording if you are using an OHCI-compliant IEEE-1394 HDV device and the application
is able to obtain device control of your HDV recorder. Recording will begin automatically at the
specified timecode position when you click Finish.


