


286
ADDING VIDEO TRANSITIONS AND MOTION CHP. 15
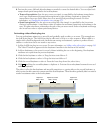
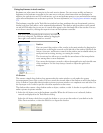
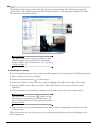
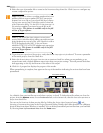
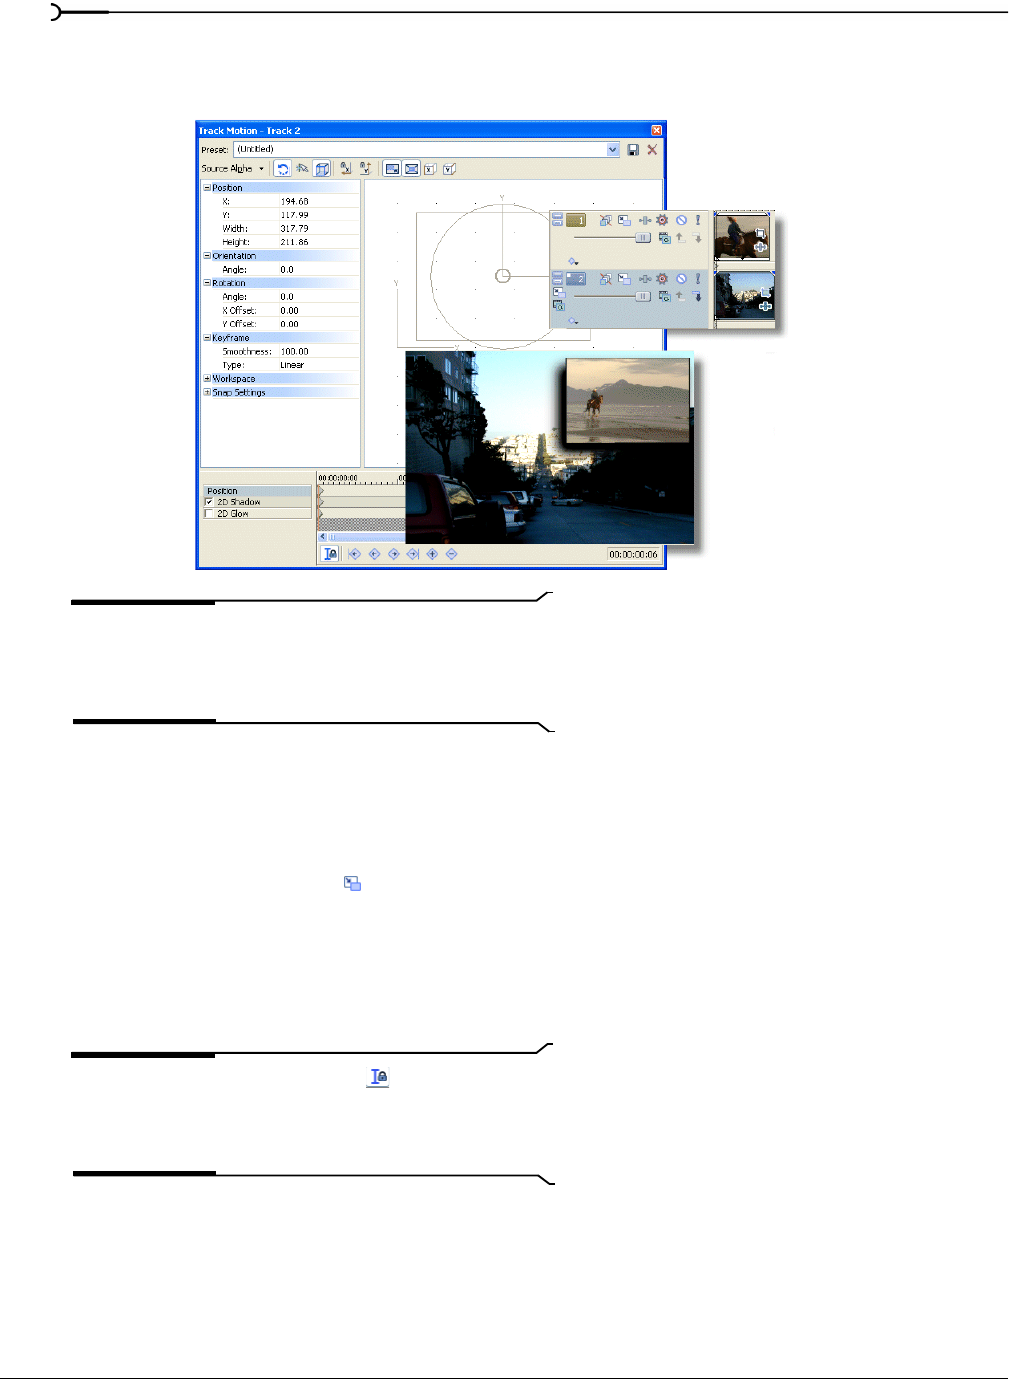
The illustration below shows some of the relevant parts of this procedure. Note the shadow cast by the
overlay video. This is added by selecting the
2D Shadow check box on the keyframe controller. The Video
Preview window displays the results.
Tip:
While overlay picture-in-picture windows are often
completely opaque, you can fade them in and out using
opacity envelopes. For more information, see Using opacity
envelopes on page 177.
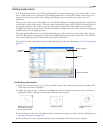
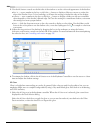
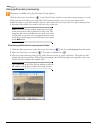
Animating the overlay
You can animate many aspects of an overlay using the keyframes at the bottom of the Track Motion window.
1.
Insert a video event onto the timeline.
2.
Click the Track Motion button ( ) in the track list.
3.
In the Track Motion window, resize the overlay by dragging the handles at the edges of the overlay.
4.
Drag the middle of the overlay to position it. This will be the size and position for the start of the
animation.
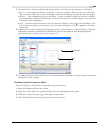
5.
Click the timeline of the keyframe controller at a later time to move the cursor to that position.
Tip:
With the Sync Cursor button ( ) enabled, you can
also navigate to a new position on the main timeline. The
cursor is automatically moved on the keyframe controller to
the same location.
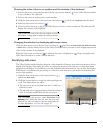
6.
Reposition the overlay. A new keyframe is automatically added to the keyframe controller at the new
cursor position.
When you preview the video, the position of the overlay interpolates between the two keyframes with a
smooth animation.