


CHP. 4 BASIC EDITING TECHNIQUES
117
Deleting markers
1.
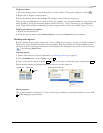
Place the mouse pointer on the marker that you want to delete. The pointer changes to a hand ( ).
2.
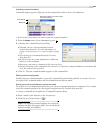
Right-click to display a shortcut menu.
3.
From the shortcut menu, choose Delete. The marker is removed from your project.
The tags are not renumbered as you remove them. For example, if you have five markers in your project and
delete markers 3 and 4, the remaining markers will be listed as 1, 2 and 5. However, as you add markers
again, Vegas software begins numbering the missing sequence first, in this case 3 and 4, then 6, 7, 8, etc.
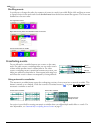
Deleting all markers and regions
1.
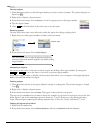
Right-click the marker bar.
2.
From the shortcut menu, choose Markers/Regions, and choose Delete All from the submenu.
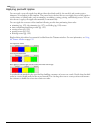
Working with regions
Regions identify ranges of time and provide a way to subdivide your project. A region is defined as the area
between two region markers that share the same number. Regions can function as semi-permanent time
selections. You can view region information in the Explorer by clicking the arrow next to the
View button
(
) and selecting Region View.
Inserting regions
1.
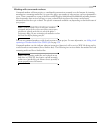
Make a time selection. For more information, see Selecting a time range on page 97.
2.
From the Insert menu, choose Region, or press .
3.
Type a name for the region and press . If you do not want to name the region, simply press .
Region markers display at the beginning and end points of a time selection.
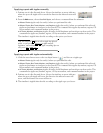
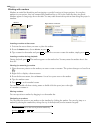
Moving regions
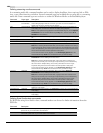
Drag a region marker to reposition it. To move both region markers (start and end markers) at once, hold
while dragging a region marker.
R
Enter Enter
Region start
Region end
Ri
g
h
t-c
li
c
k
t
h
e mar
k
er
b
ar
Marker
bar
Alt