


CHP. 6 WORKING WITH TRACKS
153
Rendering to a new track
Rendering or mixing multiple tracks to a single track can be a good method of decreasing the complexity of
a project and speeding up future renders. The original tracks and their events are unaffected when you render
(mix) to a single track.
Typically, you would use this feature when you are finished refining a few tracks and want to combine them.
When you render multiple tracks, any envelope or track effects that you have applied are rendered into the
new track. The original source files remain unaffected and the new track(s) are saved to a new file.
When working with DV files, select a DV template to avoid any loss of quality. For more information, see
Working in DV format on page 234.
Note:
Every video render that uses compression results in a
loss of quality from the original source material. To minimize
loss of quality, minimize the number of video renders that use
compression.
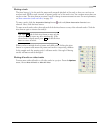
1.
Click the Solo button ( ) for the tracks that you want to mix down. If no tracks are soloed, the rendered
track will match the Master Bus output. Create a time selection if you want to mix down a portion of your
project.
Video tracks will be rendered into a single video track, and audio tracks will be rendered into a single
stereo audio track.
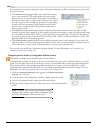
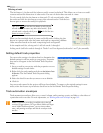
2.
From the Tools menu, choose Render to New Track or press . The Render to New Track dialog
appears.
3.
Complete the dialog as follows:
•From the Save in drop-down list, select the drive or folder to save the new media file.
• Type a file name in the File name box.
•From the Save as type drop-down list, choose the file format (e.g., .wav for audio or .avi for video).
•From the Temp late drop-down list, choose a format from the template list. Alternately, click Custom to
set custom rendering settings. For more information, see Customizing the rendering process on page 311.
• Select Render loop region only if you only want to render the time selection area.
• Select Stretch video to fill output frame size (do not letterbox) to adjust the aspect ratio so the output frame is
filled on all edges. When the check box is cleared, the current aspect ratio is maintained and black
borders are added to fill the extra frame area (letterboxing).
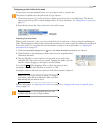
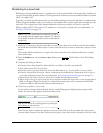
4.
Click Save to render to a new track.
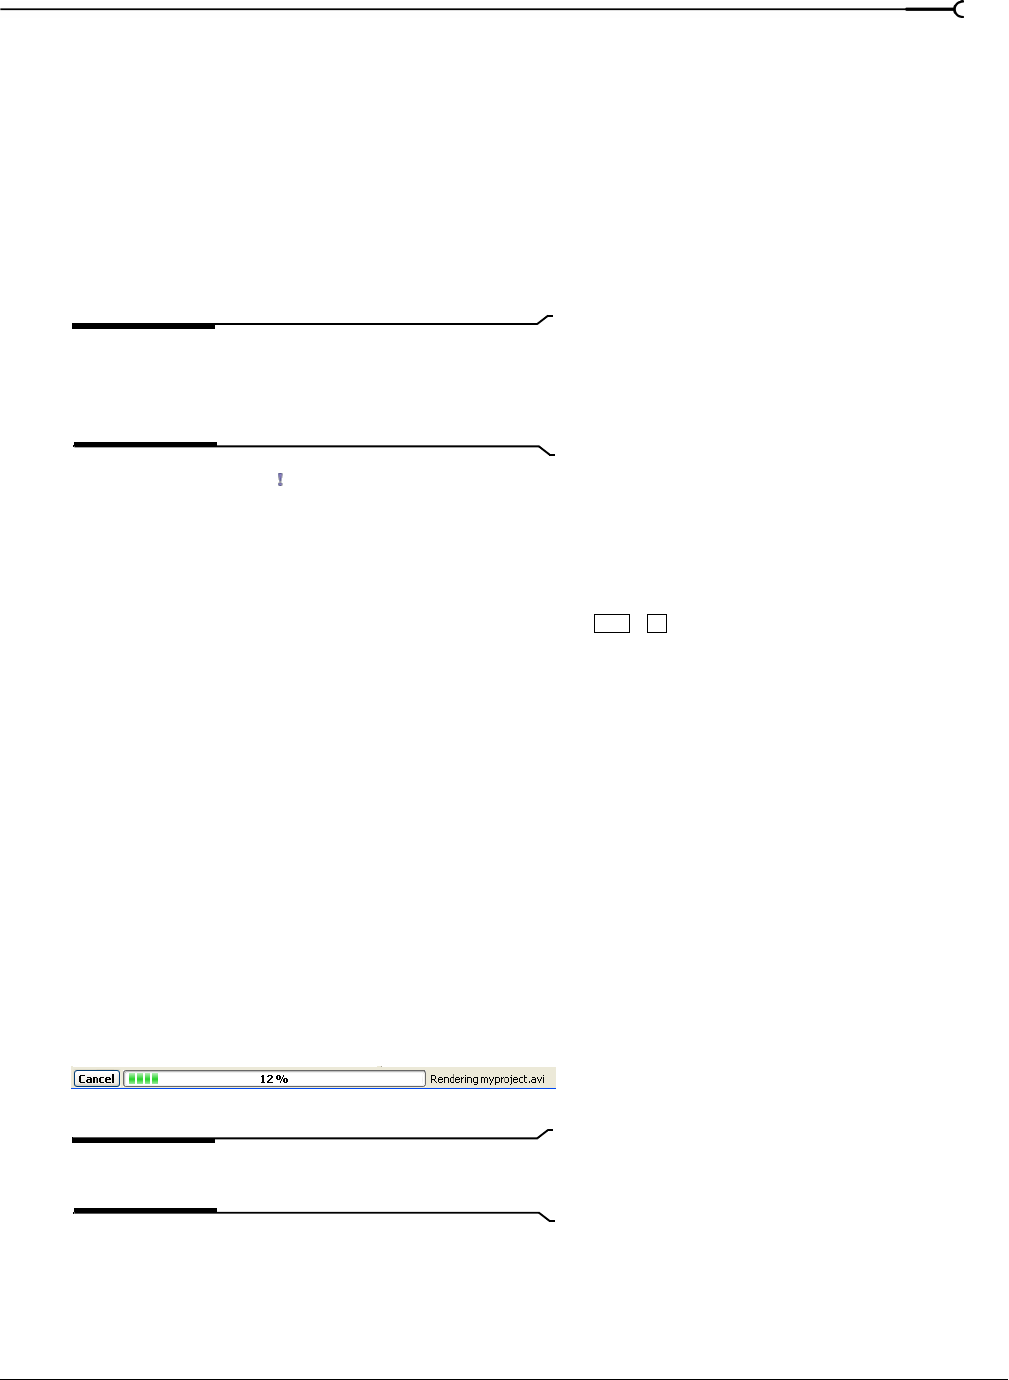
As the tracks are being rendered (mixed down), a small dialog appears displaying the progress of the
render. A status bar also appears in the lower-left portion.
Tip:
You can cancel the rendering process by clicking the
Cancel button on the status bar.
After the new track is rendered, it appears at the top of the track view. If you render the entire project,
you may delete (or mute) the other tracks from the project, since they are all contained on the new track.
Ctrl +M