


CHP. 5 ADVANCED EDITING TECHNIQUES
135
Adding and saving regions and markers to a media file
The Trimmer allows you to add markers and regions to a media file in the same way that you add them to
your project. Media file markers and regions are different from project markers and regions. The difference
between the two is that project markers and regions affect a project, while media file markers and regions are
embedded in, and saved with, a media file. For more information, see Adding project markers and regions on page
115.
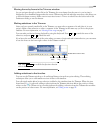
The markers and regions you add in the Trimmer are only temporary. You must save them by clicking the
Save button ( ) in the Trimmer window if you want to use them again after you close the project. After the
markers and regions are added and saved to the media file, they are available when you open the media file
in an audio editor program or in the Trimmer.
Note:
You cannot save markers to read-only media files.
Change a file’s properties to make the file writable before
saving markers.
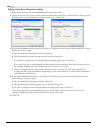
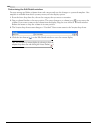
Automatically saving Trimmer markers and regions with media
files
1.
From the Options menu, choose Preferences.
2.
On the General tab, select Automatically save trimmer markers and
regions with media file.
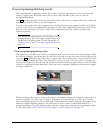
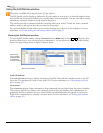
Adding regions as takes
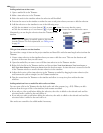
Once regions are saved with a media file, either in the Trimmer window or in another application, you can
add the regions as takes to the timeline from the Explorer window. In the Explorer window, click the arrow
next to the
View button and select Region View from the drop-down list. A single media file may contain a
number of separate regions. You can select these regions individually or as groups and insert them as takes
into the timeline. This is especially useful when loop-recording numerous takes to a single file. For more
information, see Working with takes on page 130.
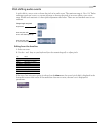
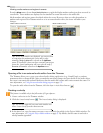
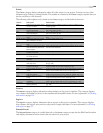
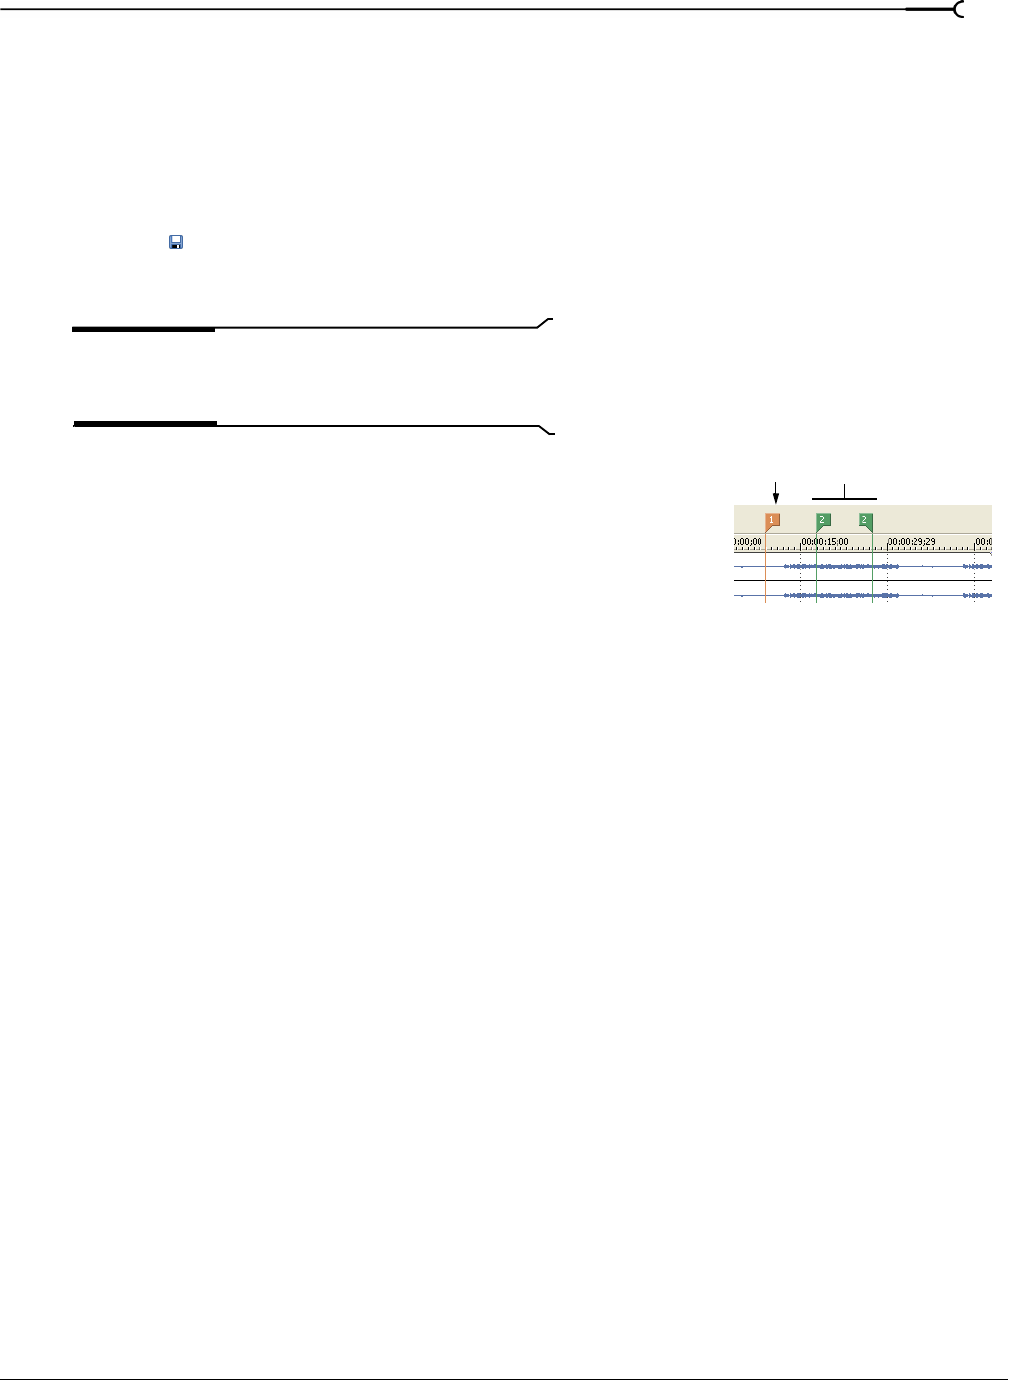
Marker
Region