


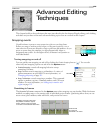
CHP. 5 ADVANCED EDITING TECHNIQUES
133
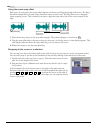
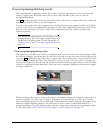
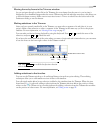
Moving frame-by-frame in the Trimmer window
As you navigate through a video file in the Trimmer, the exact frame that the cursor is over in time is
displayed as in a thumbnail image under the cursor. When using the left and right arrow keys, this allows you
to edit with frame accuracy. Make sure
Animate video frames in Trimmer is selected on the General tab of the
Preferences dialog to use this feature.
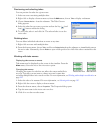
Making selections in the Trimmer
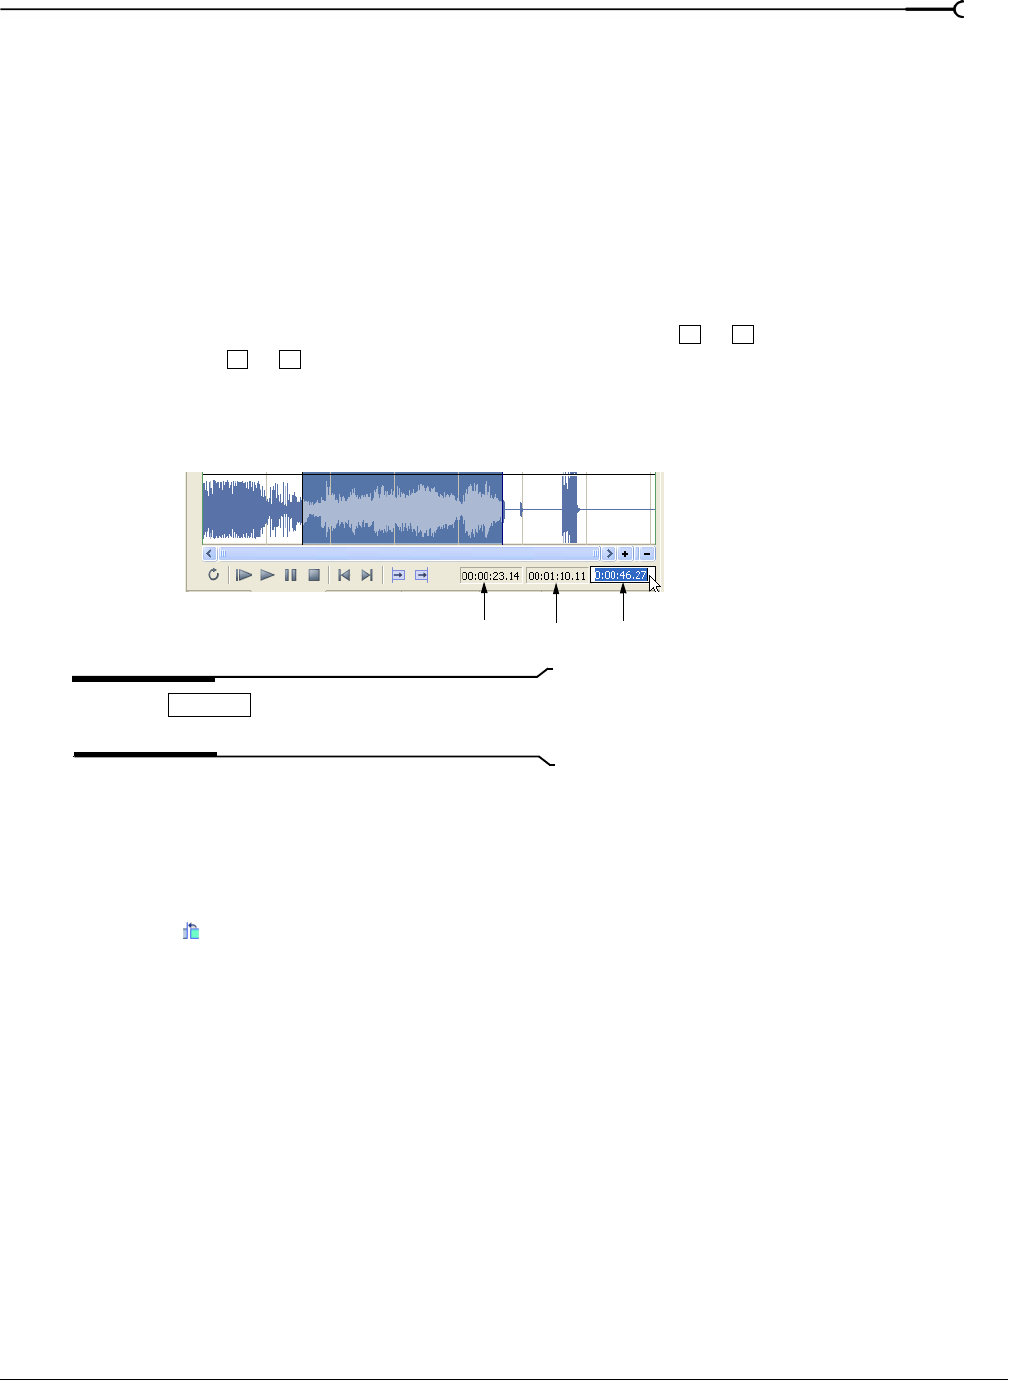
After you have opened a media file in the Trimmer, you may select a segment of it and place it in your
project. Make a time selection to select a segment in the Trimmer in the same way you do in the project
timeline. For more information, see Selecting a time range on page 97.
You can make a selection during playback by using the keyboard. Press or to mark the start of the
selection, and press
or to mark the end.
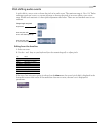
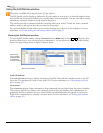
If you know the exact timecode of the point where you want to begin and end a time selection, you can enter
it into the boxes at the lower right corner of the Trimmer window.
Tip:
Press to recall the last five time selection
areas in the Trimmer.
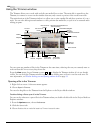
Adding selections to the timeline
You can use the Trimmer window to do traditional three-point and two-point editing. These editing
techniques allow you to add smaller sections of files to the timeline.
Post-edit ripple mode affects how a selection is added to the timeline from the Trimmer. When the Auto
Ripple button ( ) is selected, adding a selection from the Trimmer selection affects the position of later
events on the track. When not in post-edit ripple mode, adding a selection from the Trimmer has no effect
on the position of other events. For more information, see Editing events on page 99.
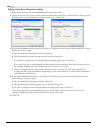
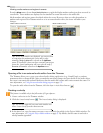
I
[
O
]
Double-click to enter a value.
Selection Selection Selection
LengthEndStart
Backspace