CHP. 2 GETTING STARTED
51
6.
From the Speed drop-down list, choose the speed at which you want to extract the audio. If you
experience any problems extracting audio, you can try decreasing the selected speed, or you can click
Configure to adjust the Audio extract optimization setting.
Note:
To eject the CD at any time prior to beginning the
extraction process, click the Eject button.
7.
Click OK. The Save As dialog appears.
8.
Select a name and location for the new WAV file.
9.
Click Save to begin extracting the audio.
The track is extracted and a progress meter is displayed to indicate the percent complete. Once extraction is
complete, the new WAV file appears in the Project Media window.
The option of automatically naming extracted tracks is provided for you. To enable this option, choose
Preferences from the Options menu, and on the CD Settings tab, select the Autoname extracted tracks check
box. For more information, see CD Settings tab on page 350.
Adding a still-image sequence
This feature is available only in the full version of Vegas software.
If you’ve exported a video clip as a still-image sequence using another application (a 3D-rendering
application, for example), the sequence can be added to the Project Media window and treated as a single
media file. Each image in the sequence will be displayed for one frame in the event.
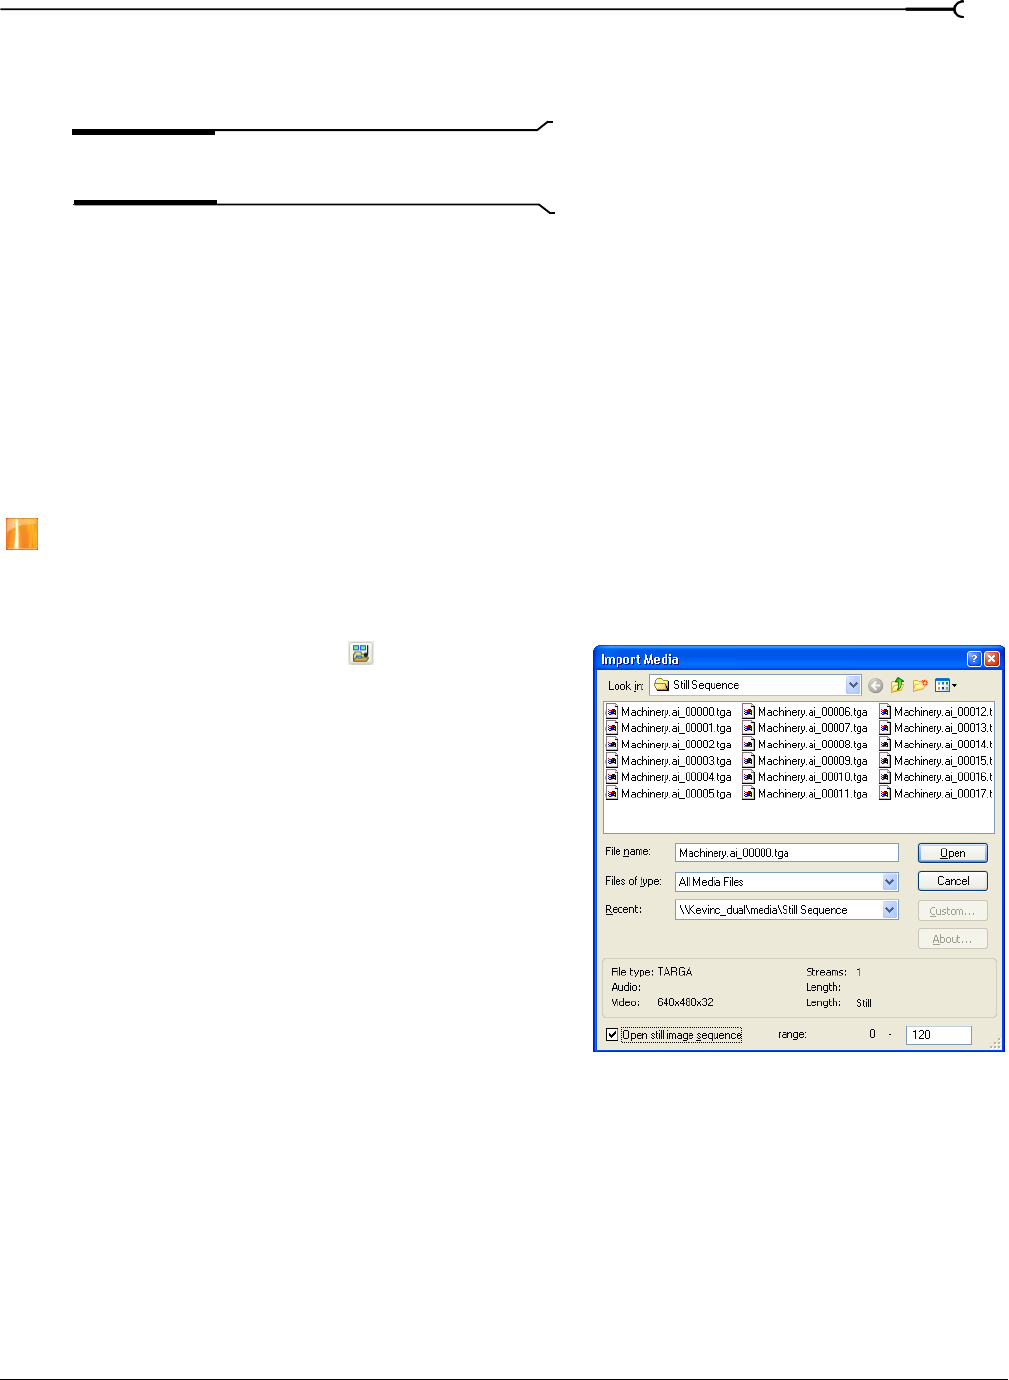
1.
Click the Import Media button ( ) in the Project Media
window. The Import Media dialog appears.
2.
Choose the folder where the sequence you want to open
is stored.
3.
Select the first image in the sequence (or the image you
want to start the event).
4.
Select the Open still-image sequence check box.
5.
In the Range field, enter the number of the last image you
want to open. For example, if you'd selected
AnimationOne_00001.tga in step 3, you could enter 120
in this box to create a new image sequence using
AnimationOne_00001.tga to
AnimationOne_00120.tga.
6.
Click Open. The still-image sequence is added to the
Project Media window.
Sorting media with bins
The detailed view of the Project Media window helps you sort your media files using their attributes, but for
more control, you can create bins. Bins are folders within projects that you can use to organize your media
files.
Media bins are virtual folders that are saved with your project. They do not affect the way media is saved on
your computer.
Creating bins
Right-click the parent bin where you want to create a new bin and choose Create New Bin from the shortcut
menu.


