


118
BASIC EDITING TECHNIQUES CHP. 4
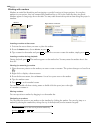
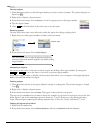
Naming regions
1.
Place the mouse pointer on the left region marker you want to name or rename. The pointer changes to a
hand icon (
).
2.
Right-click to display a shortcut menu.
3.
From the shortcut menu, choose Rename. A text box appears next to the region marker.
4.
Type the region’s name.
5.
Press or click anywhere in the track view to set the name.
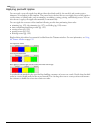
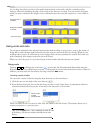
Selecting regions
You may select the events, across all tracks, within the region for editing or playing back.
1.
Right-click one of the region markers to display a shortcut menu.
2.
From the shortcut menu, choose Select Region.
Tip:
You can also select a region by pressing a number on
your keyboard (not the numeric keypad) or by double-clicking
a region marker.
Navigating to regions
You can move the cursor to the start or end of a region by clicking either region marker. You may press
or to move the cursor to the next or previous region markers.
Right-click a region marker to display a shortcut menu that allows you to navigate to the beginning (Go to
Start)
or the end (Go to End) of a region.
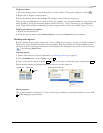
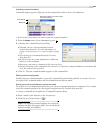
Deleting regions
1.
Place the mouse pointer on the region marker’s starting or ending point. The pointer changes to a hand
icon (
).
2.
Right-click to display a shortcut menu.
3.
From the shortcut menu, choose Delete. The region is removed from your project.
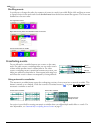
The tags are not renumbered as you remove them. For example, if you have five regions in your project and
delete region 3 and 4, the remaining regions are listed at 1, 2 and 5. However, as you add regions again,
Vegas software begins numbering the missing sequence first, in this case 3 and 4, and then 6, 7, 8, etc.
Deleting all regions and markers
1.
Right-click the marker bar.
2.
From the shortcut menu, choose Markers/Regions, and choose Delete All from the submenu.
Enter
Selected region
Ctrl
+ Ctrl +