


142
WORKING WITH TRACKS CHP. 6
Deleting a track
You can delete a track from your project and all of the events contained on it. You can delete one track or
select multiple tracks to delete.
1.
Select the track that you want to delete. To select multiple tracks, click each one while pressing to
select a range of adjacent tracks or
to select discontinuous tracks.
2.
From the Edit menu, choose Delete.
Tip:
You can also delete a track by selecting it and pressing
.
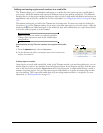
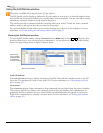
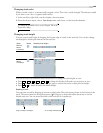
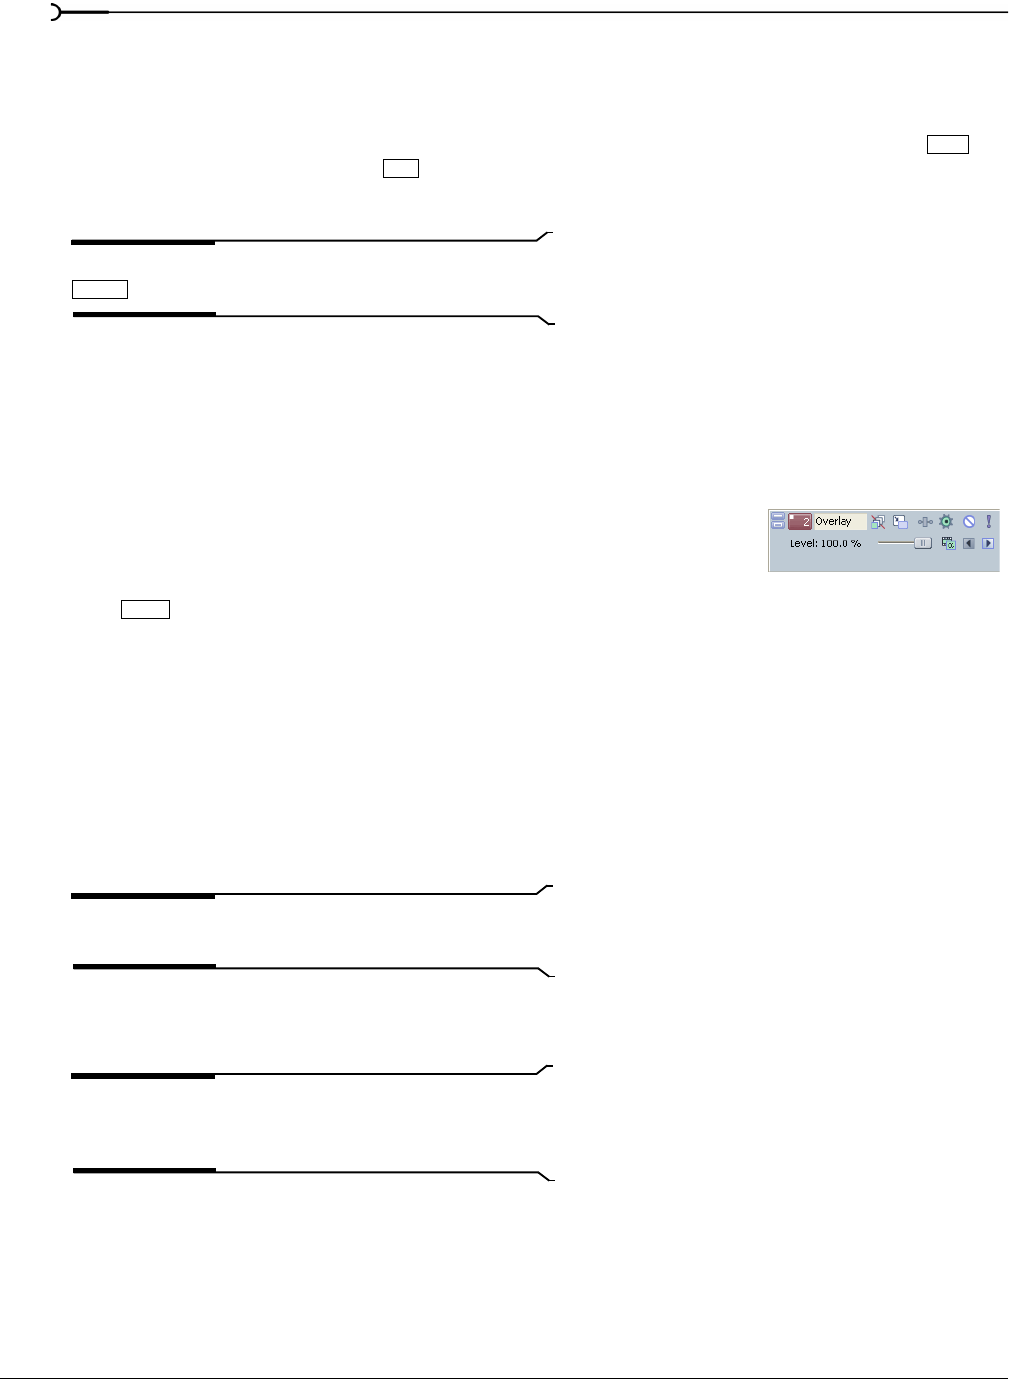
Naming or renaming a track
Every track in your project has a scribble strip where you can type a name for the track. The track name may
be up to 255 characters long. If the scribble strip is not visible, you may need to increase the height or width
of the track by dragging the track’s edge to reveal it. For more information, see Changing track height on page
143.
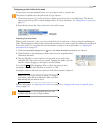
1.
Double-click the scribble strip. Any existing name is highlighted on the
strip.
2.
Type the new track name.
3.
Press to save the track’s name.
Organizing tracks
Vegas software is flexible in how tracks can be organized. You can arrange and resize tracks to fit your
particular needs.
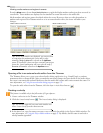
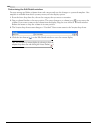
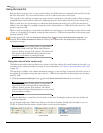
Reordering tracks
When you create tracks, they are arranged in the order that they were added. It is a simple process to reorder
tracks to fit your needs. You may reorder one or more tracks at a time.
Note:
Track hierarchy can be critical in video compositing.
For more information, see Compositing on page 248.
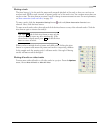
1.
In the track list, place the mouse pointer on the track that you want to move.
2.
Drag the track to the new position in the track list.
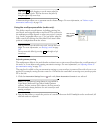
Tip:
When moving a track, you may want to place the mouse
pointer on the track number when dragging. This helps avoid
accidental modifications to other track list controls.
Shift
Ctrl
Delete
Double-click and type track name
Enter