


56
GETTING STARTED CHP. 2
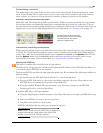
Adding media to the timeline
Media files may be added to your project from the Explorer or Project Media windows by double-clicking
them or by dragging them. Either method places the media file in an event in its entirety in the timeline.
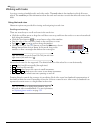
Dragging a media file to the timeline
You can create a new track by dragging a media file to a blank area on the timeline and dropping it in place.
Tracks can contain multiple events, so you can place different events next to each other on a track.
Note:
Video and audio events cannot be placed on the same
track.
1.
Locate a media file in the Explorer or Project Media window.
2.
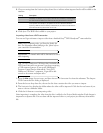
Drag the media file to the timeline.
An event for the media file appears where you released the mouse.
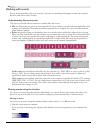
Dragging multiple media files to the timeline
1.
Select multiple media files in the Explorer or Project Media window. Select a range of adjacent media files
by pressing
and clicking the first and last files in the range or select files that are not adjacent by
pressing
and clicking individual files.
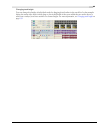
2.
Right-click and drag the files to the track view (timeline).
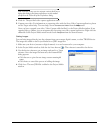
3.
When you release the mouse, a shortcut menu appears. Select a placement option from the menu.
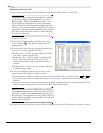
• Add Across Time
• Add Across Tracks
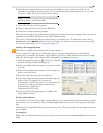
• Add As Takes
For more information, see Working with takes on page 130.
• Video Only and Audio Only allow you to isolate either the video or audio, and add that stream from a
multimedia file either across tracks, across time, or as takes.
Tip:
A left-click drag-and-drop automatically inserts files
across time. However, you can cycle through placement
modes by right-clicking (without releasing the left mouse
button) while performing the drag-and-drop operation.
Shift
Ctrl
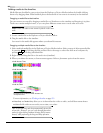
You will see one event on the track.
The other events are listed at takes “beneath” the
the topmost event.