


276
ADDING VIDEO TRANSITIONS AND MOTION CHP. 15
Note:
Presets for 2D and 3D track motion are saved
separately: presets you create in the 2D Track Motion
window will not be available in the 3D Track Motion
window.
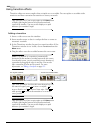
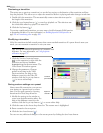
Recalling a preset
1.
Click in the Position, 2D Shadow, and 2D Glow keyframe row to select a row and position the cursor where
you want to apply the preset.
2.
Choose a setting from the Preset drop-down list.
If no keyframe exists at the cursor position, one is created using the settings from the preset. If a keyframe
exists at the cursor position, the keyframe’s settings are replaced with the settings from the preset.
Deleting a preset
Click the Delete Preset button ( ) to delete the current preset.
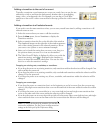
Working with keyframes in track view
You can move and modify track keyframes in track view. These keyframes are used in the following three
track-level effects:
• Track effects plug-in (pg. 242)
• Track motion (pg. 281)
• Mask generator plug-in on a parent compositing track (pg. 263)
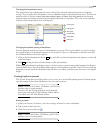
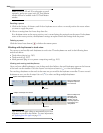
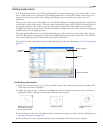
Viewing and moving track keyframes
Once you have added keyframes to one of these track-level effects, the track keyframes appear at the bottom
of the track on the timeline. Click the
Expand Track Keyframes button ( ) to view the keyframes.
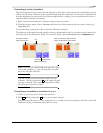
You can drag a keyframe on the track in the same way you would in the keyframe controller. To move several
keyframes at once, use the
Envelope Edit tool ( ) to select and drag multiple keyframes.
Tip:
You can use ripple editing to automatically move track
keyframes as you edit in the timeline. For more information,
see Applying post-edit ripples on page 110.
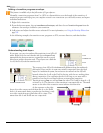
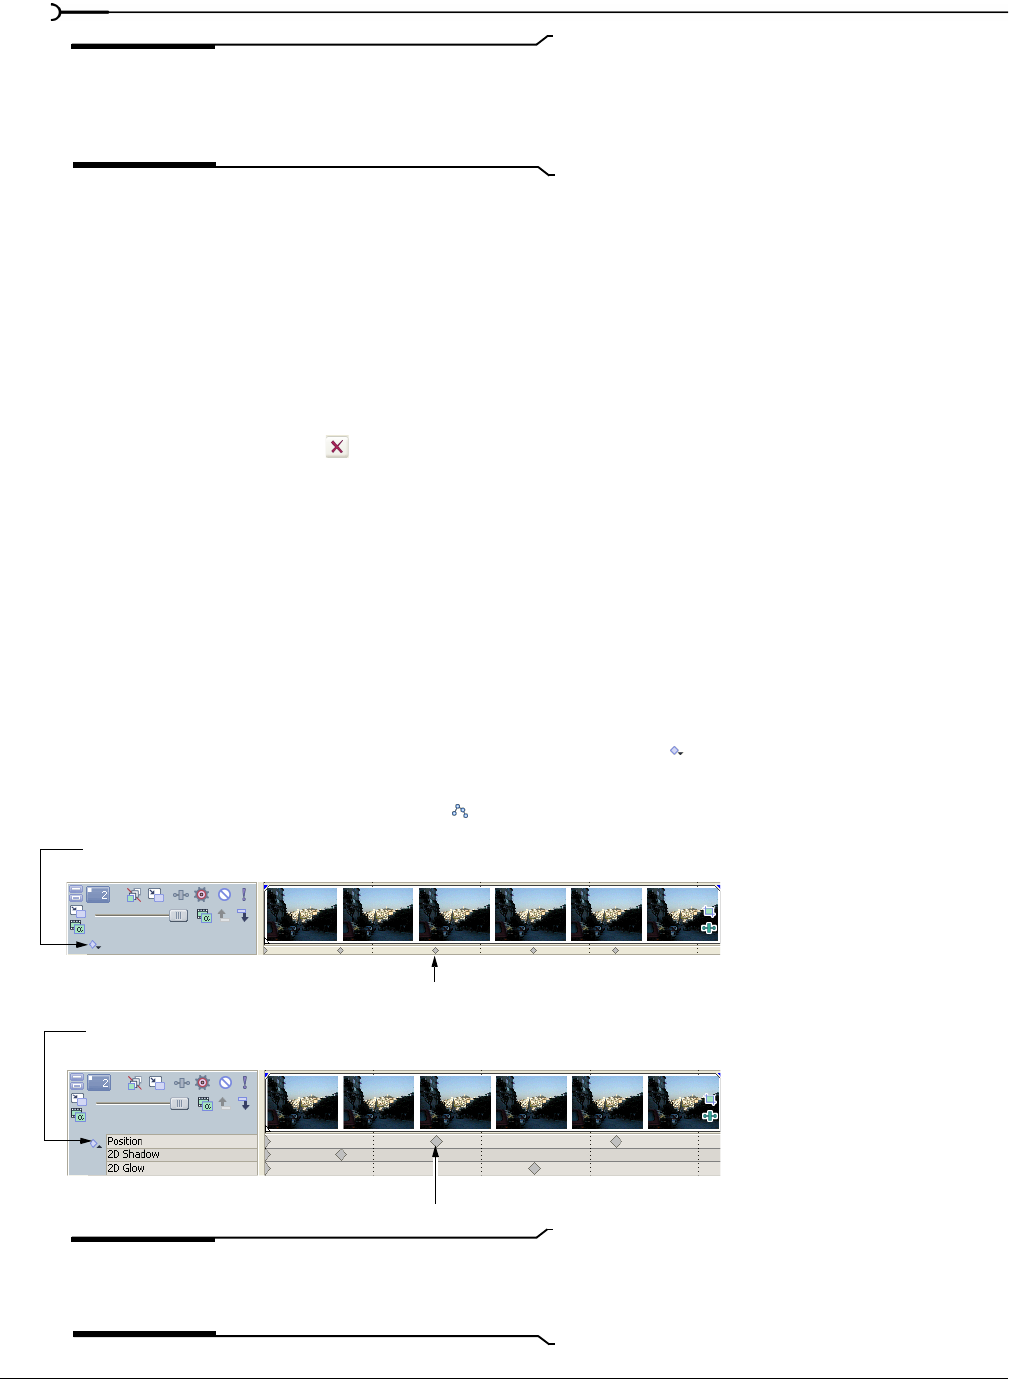
Expand Track Keyframes button
Collapse Track Keyframes button
With track keyframes
collapsed, keyframes
are minimized.
With track keyframes
expanded, each
set of keyframes
displays. You can
move any keyframe
by dragging it to a
Keyframe
Keyframe
new position.