


132
ADVANCED EDITING TECHNIQUES CHP. 5
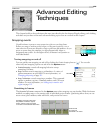
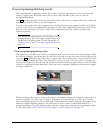
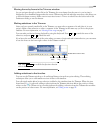
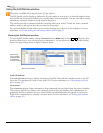
Using the Trimmer window
The Trimmer allows you to work with and edit one media file at a time. The entire file is opened into the
Trimmer, in contrast to events on the timeline that may only contain a portion of the actual source file.
The main function of the Trimmer window is to allow you to trim a media file and place portions of it on a
track. You can also add regions and markers to a file, preview the media file, or open it in an external audio
editing program.
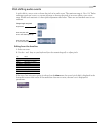
You can open any number of files in the Trimmer at the same time, selecting the one you currently want to
work on from the
Trimmer history drop-down list.
From the View menu, choose Trimmer or press to display the Trimmer window, if it is not already
visible. You can dock the Trimmer window in the window docking area or float it over the work area. For
more information, see Window docking area and floating window docks on page 24.
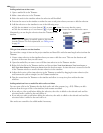
Opening a file in the Trimmer
1.
Right-click an event. A shortcut menu appears.
2.
Choose Open in Trimmer.
You can also drag files to the Trimmer from the Explorer or the Project Media windows.
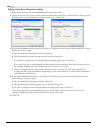
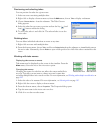
Double-clicking a file to open it in the Trimmer
You can set the software to open a file in the Trimmer when you double-click the file in the Project Media or
Explorer windows.
1.
From the Options menu, choose Preferences.
2.
Click the General tab.
3.
Choose Double click on media file loads into Trimmer instead of tracks.
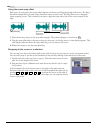
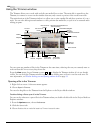
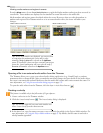
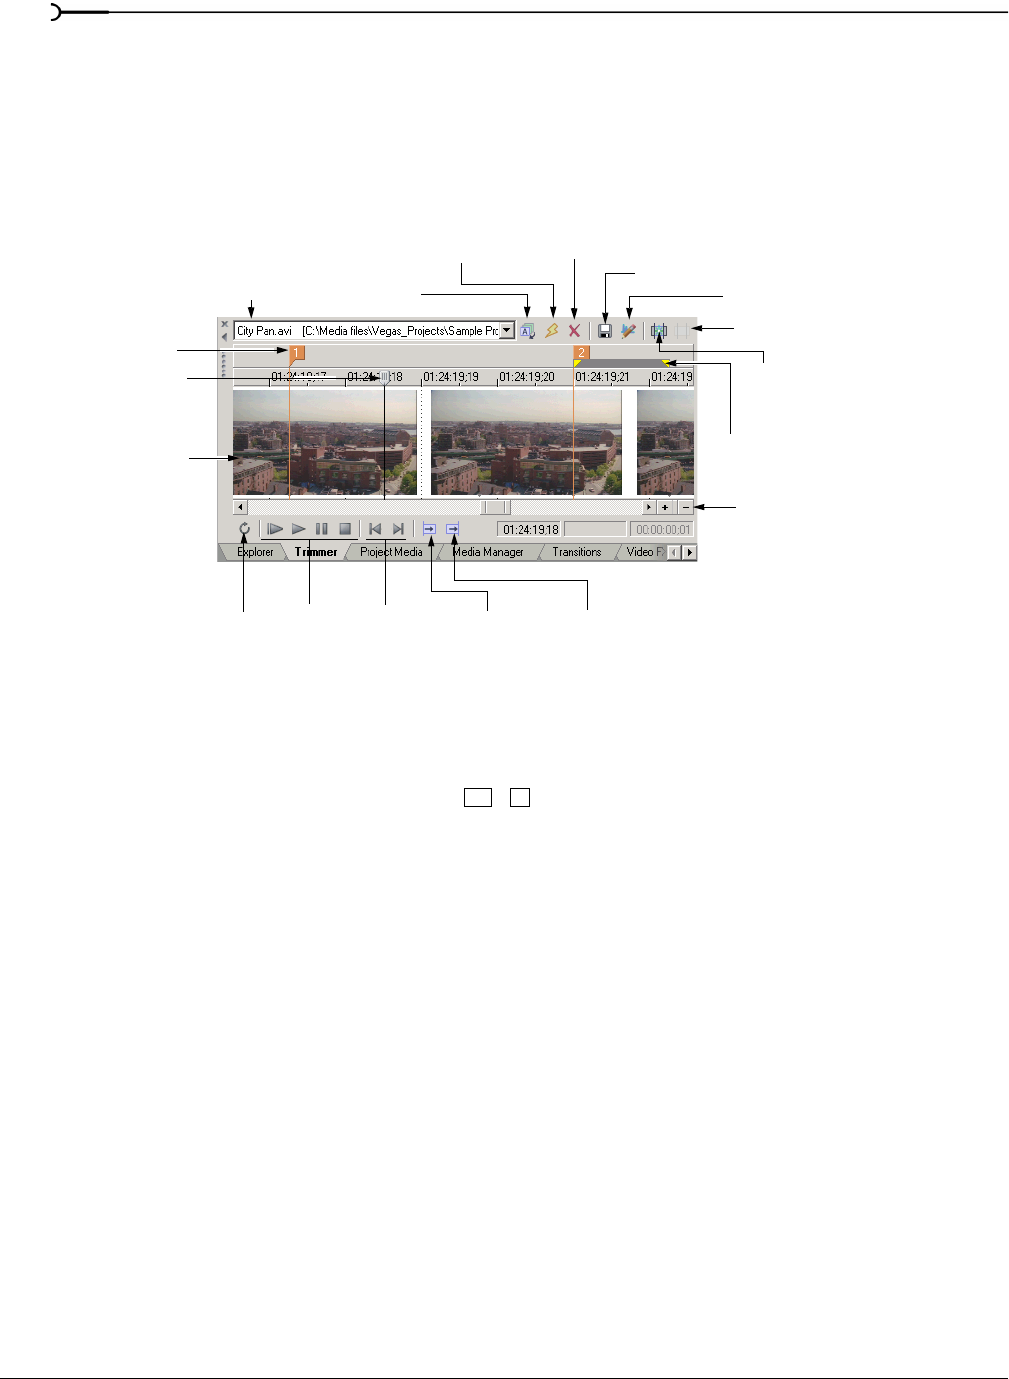
Trimmer
Playback
Loop
Add media
Cursor
Marker
Open in
Clear Trimmer
Save Markers/Regions
Remove Current Media From
Sort Trimmer
Loop region or
Selection area
Add media
History
Audio Editor
history
navigationcontrols
from cursor
up to cursor
Trimmer History
History
Create subclip
Select Parent Media
Zoom controls
Media file
Playhead
Alt
+2