CHP. 19 BURNING CDS
353
Creating audio CD layout projects
Several ways are provided to create an audio CD layout project. If you have a set of audio files you wish to
burn to a CD, you can add the files as tracks to a new audio CD layout project. Or, if you want to burn an
audio CD from an existing project, you can mark the tracks in your project either automatically or manually.
Adding media as CD tracks to a new project
You have a collection of completed audio files that you want to write to a CD. An audio CD layout project
can quickly be assembled from sound files in the Project Media window. You can add the tracks one at a
time, or use the Project Media window to sort them into track order and add them all at once.
1.
Create a new project.
2.
Add all the media to be included in the project to the Project Media window. For more information, see
Using the Project Media window on page 47.
3.
To add all tracks at once, use the following steps to sort the files into track order:
• In the Project Media window, click the arrow on the Views button ( ) and choose Details from the
menu. The Project Media window changes to Details view.
•In the Comments column, enter the track number for each media file (01, 02, etc.).
• Click the Comments column header to sort the list into track order.
• Select the sorted files in the Project Media window.
4.
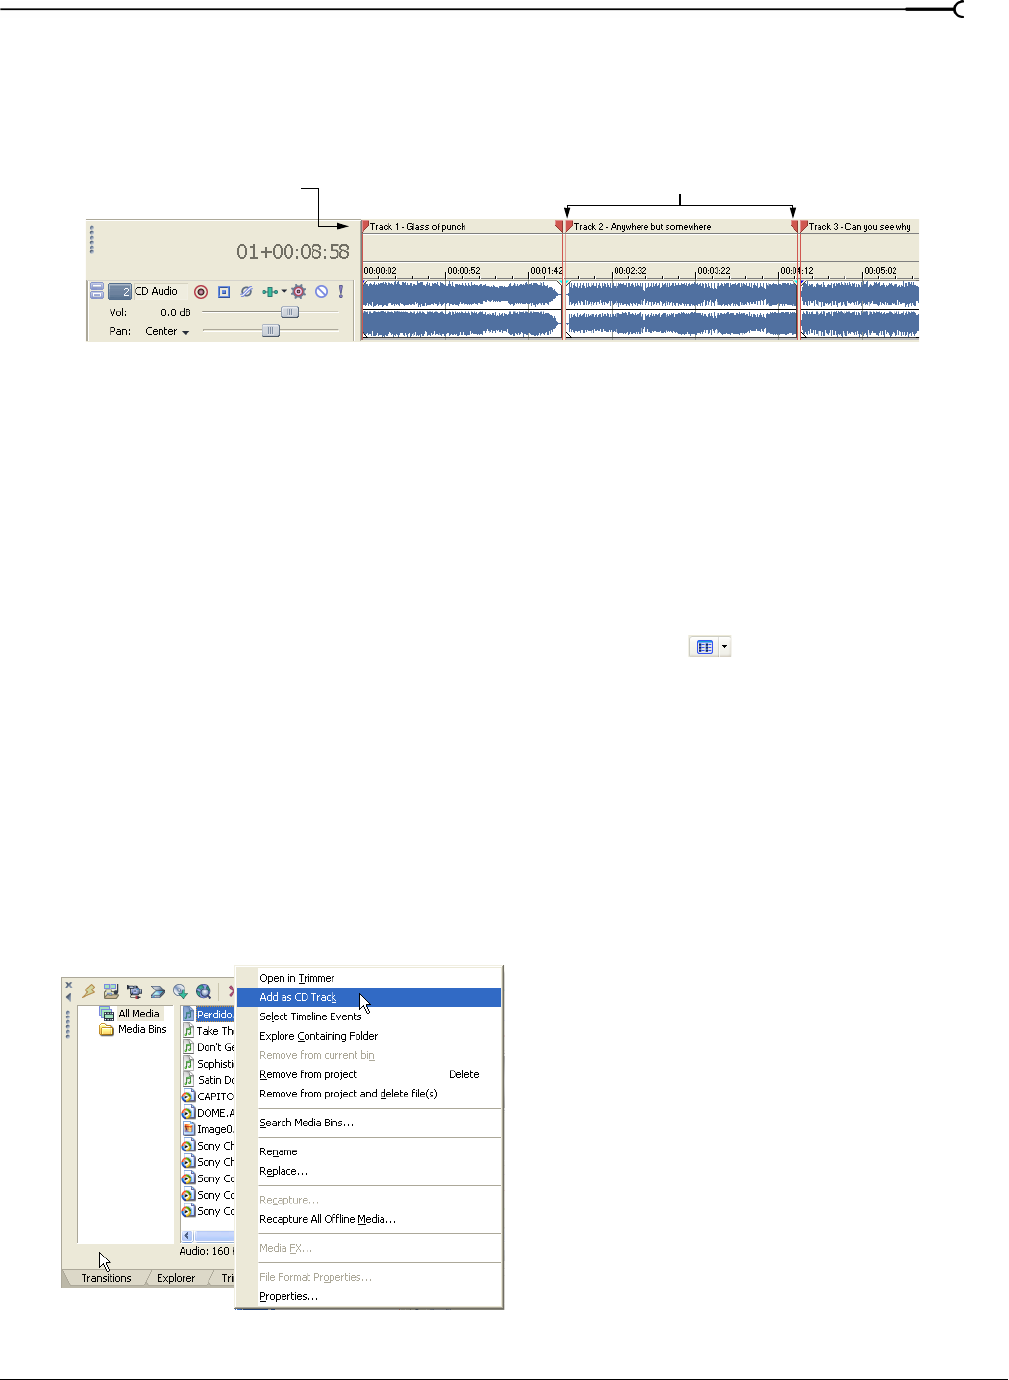
Right-click a media file (or the selected media files) and choose Add as CD Track from the shortcut menu.
The files are added to a new track and the audio CD tracks are marked on the CD layout bar. The name of
the media file is used to name each track. If necessary, you can edit the information for the new audio CD
tracks using the markers on the CD layout bar or using the Edit Details window. For more information, see
Working with tracks and indices on page 355.
CD layout bar Track markers
Right-click files in the Project Media window to add them as CD tracks to a audio CD layout project.


