


CHP. 9 USING THE MIXER
185
3.
Click OK to close the Preferences dialog.
4.
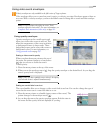
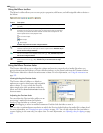
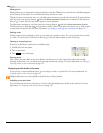
In the Mixer window, click the Playback Device Selector button on the bus you want to route.
5.
Choose a hardware device from the menu.
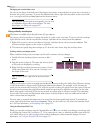
• The button is displayed as a when a bus is routed to the master bus.
• The bus letter is displayed ( , , and so on) when a bus is routed to another bus.
• The button is displayed as a when a bus is routed to a hardware output.
Note:
You can map multiple busses to a single sound card.
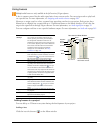
Working with busses
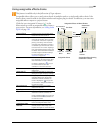
Busses in the Mixer window are fully independent and may be adjusted separately. You can adjust the bus
volume, change the bus meter resolution, and adjust the bus fader to eliminate clipping.
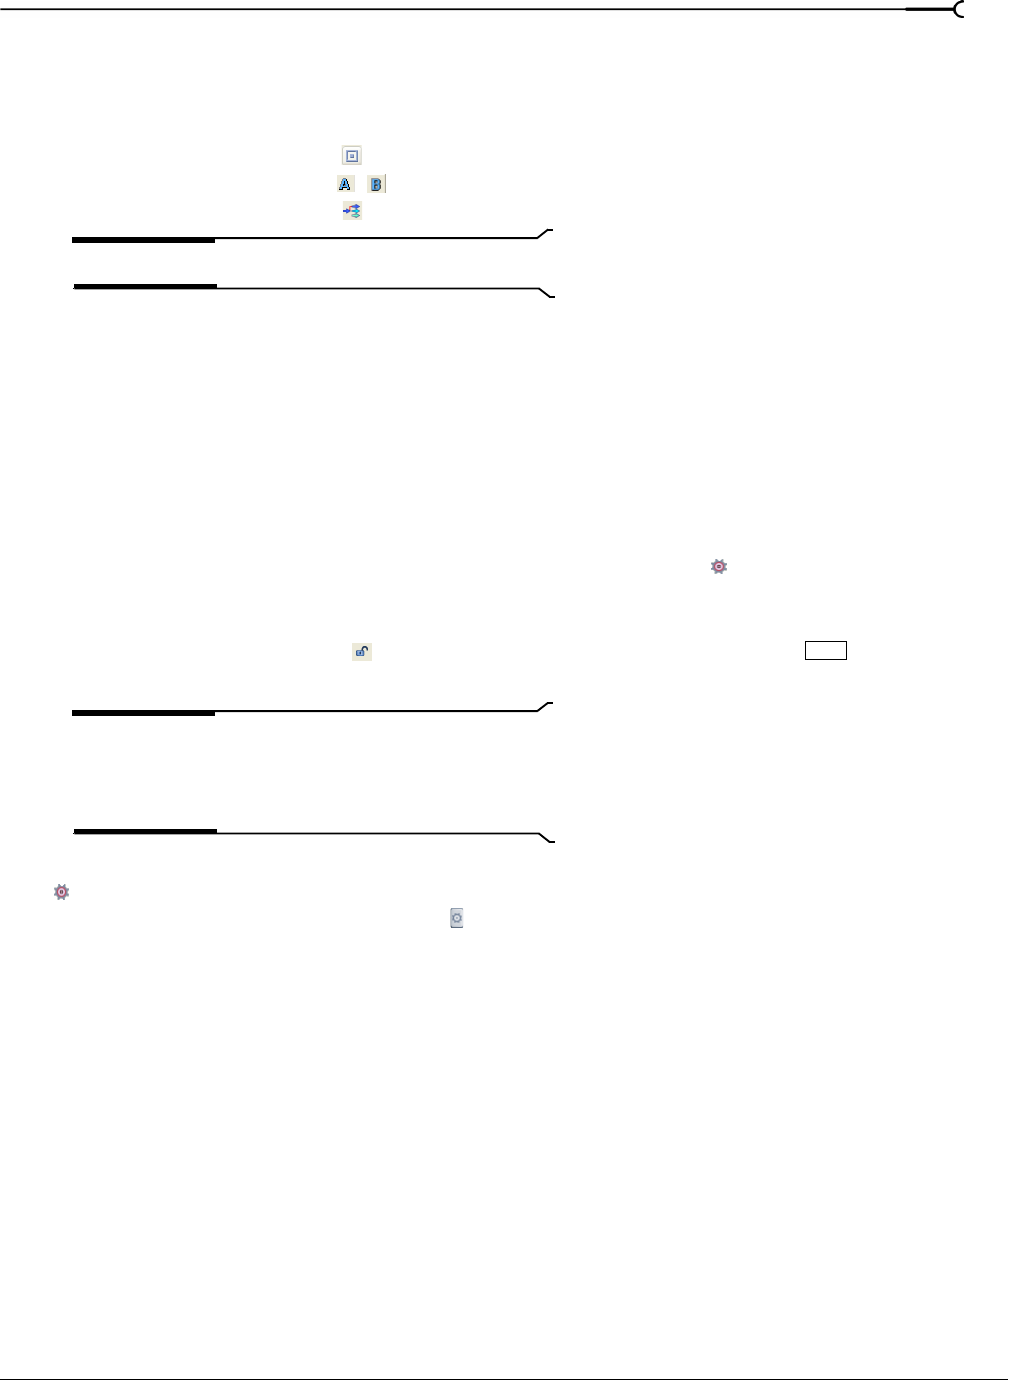
Adjusting bus volume
You can adjust a bus’s volume during project playback by dragging the fader. The fader on a stereo bus is split
so that you can adjust the levels of the two stereo channels independently.
The fader can function as a trim control that adjusts the overall level of the bus, or it can adjust volume
automation settings on the bus track. Click the
Automation Settings button and verify Show Automation
Controls
is not selected if you want the fader to function as a trim control.
The faders are locked (ganged) so that the left and right channels of stereo files move together. Click the
Lock/Unlock Fader Channels button ( ) to unlock or lock the faders. You can also press while dragging a
fader to temporarily override a fader’s locked or unlocked state.
Tip:
Double-click a fader to reset it to 0.0 dB. If you have
set each channel independently, double-click either the left or
right fader to have the other fader match the other’s volume
setting.
If you want to adjust volume automation settings on the bus’s bus track, click the Automation Settings button
and select Show Automation Controls. For more information, see Adjusting volume or pan automation settings
on page 157. The fader handle is displayed as
in Automation mode.
You can adjust the volume of several busses simultaneously by selecting the busses and adjusting any of their
faders. If you select an assignable effect along with the busses, the output fader of the assignable effect moves
along with the bus volume faders.
Changing bus meter resolution
You can select a meter resolution at which a bus displays the signal levels that are being mixed. When you
change the meter resolution on this control, the other meters (assignable effects and preview) automatically
change to match.
To change bus meter resolution, right-click a meter and choose a meter resolution from the shortcut menu.
Adjusting a bus for clipping
If the volume level is set too high, it may cause clipping. The clipping displays in red at the top of the meter
with the clipping value displayed in decibels (dB). Adjust the fader and click the red clipping value to reset
the meter. Continue to adjust the fader and reset the meter until you eliminate the clipping.
You can set the meter to remember and display the highest and lowest levels by right-clicking and selecting
Hold Peaks and Hold Valleys.
Shift