


116
BASIC EDITING TECHNIQUES CHP. 4
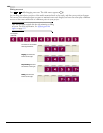
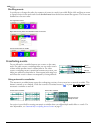
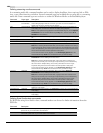
Working with markers
Markers are useful for identifying and navigating to specific locations in longer projects. As you place
markers in your project, they are automatically numbered (up to 99) in the order that they are placed.
Markers appear as orange tags above the ruler. You may name them and reposition them along the project’s
timeline.
Inserting a marker at the cursor
1.
Position the cursor where you want to place the marker.
2.
From the Insert menu, choose Marker, or press .
3.
Type a name for the marker and press . If you do not want to name the marker, simply press .
Inserting a marker during playback
During playback, press . The marker appears on the marker bar. You may name the marker after it has
been set.
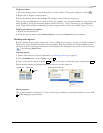
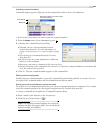
Naming (or renaming) a marker
1.
Place the mouse pointer on the marker you want to name or rename. The pointer changes to a hand icon
(
).
2.
Right-click to display a shortcut menu.
3.
From the shortcut menu, choose Rename. A text box opens next to the marker.
4.
Type the marker name.
5.
Press to set the marker’s name.
You can also double-click an existing name or double-click the space just to the right
of a marker to rename it.
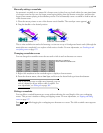
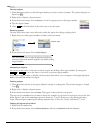
Moving markers
You can reposition a marker by dragging it on the marker bar.
Navigating to markers
You can jump the cursor to any marker on the timeline by clicking the marker. You can also jump to a
marker by pressing the number keys along the top of the keyboard (not the numeric keypad).
Tip:
Jump the cursor to the next or previous marker by
pressing or .
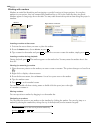
Markers
Marker
Right-click the marker bar
bar
M
Enter Enter
M
Enter
Ctrl + Ctrl +