


CHP. 11 RECORDING AUDIO
207
Changing where recorded files are stored when starting to record
1.
Press and click the Record button ( ) on the transport bar. The Project Recorded Files Folder
dialog appears.
Tip:
You can also press to specify the
location for recorded files when starting to record.
2.
Browse for the location where you want to save recorded files.
3.
Click OK.
Changing where recorded files are stored in the Project Properties dialog
1.
From the File menu, choose Properties. The Project Properties dialog appears.
2.
Click the Audio tab to display the project’s audio properties.
3.
Click Browse. The Recorded Files Folder dialog appears.
4.
Browse for the location where you want to save recorded files.
5.
Click OK.
Tip:
You can select Start all new projects with these settings
in the Project Properties dialog to store recorded media source
files to the same location in every new project.
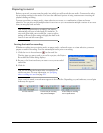
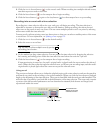
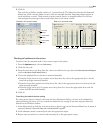
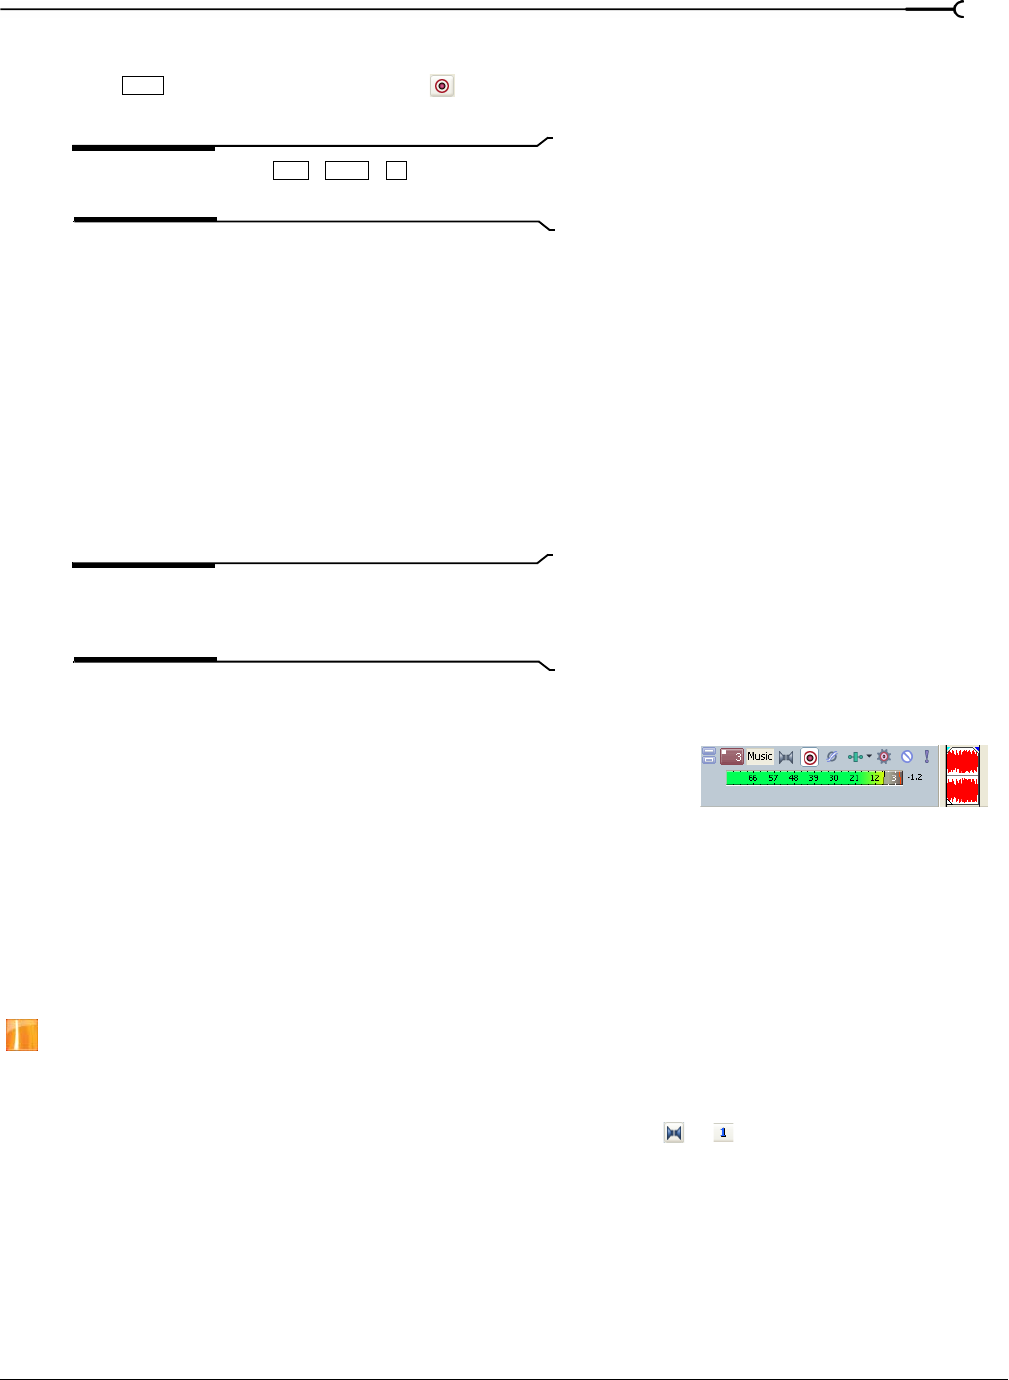
Monitoring audio levels
While you’re recording, a responsive meter is provided in the track
header to monitor the incoming signal level of the selected recording
device. It is important that you record with the highest signal possible
without clipping.
A reading of 0 dB is the maximum for a digital signal. Clipping occurs when the incoming signal is too high
to be represented as a digital value. The result is distortion in the recording. A clipped signal will be
indicated by a red Clip warning at the top of the meters.
Right-click the meters and choose a command from the shortcut menu to adjust the display of the meters.
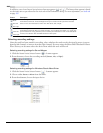
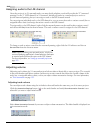
Using record input monitoring
This feature is available only in the full version of Vegas software.
If you’re using an ASIO audio device and you want to hear your recording signal with real-time track effects,
you can turn on input monitoring.
To turn on input monitoring, click the Record Device Selector button ( or ) and choose Input Monitor
from the menu, and then choose
Auto or On from the submenu. During recording, your signal will be played
back with the current track effects chain, but a dry (unprocessed) signal is recorded.
When Auto is selected, you will hear the input monitor signal when playback is stopped and during
recording. If you’re recording into selected events, you'll hear the input monitor signal only when the cursor
passes over the selected events.
Shift
Ctrl +Shift+R