


CHP. 2 GETTING STARTED
49
Tip:
Select the Always use the selected method check box to
bypass this dialog in the future and always use the method
specified on the Video tab of the Preferences dialog.
4.
Click OK. The specified video capture application starts.
5.
Capture your video. For information on capturing video with the Sony Video Capture application, please
see the Vegas online help. To access help, choose
Contents and Index from the Help menu.
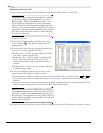
Once you have captured your video, Video Capture adds the file(s) to the Project Media window. If any
captured clips go offline, you can recapture the clips using your video capture application. Right-click an
offline file in the Project Media window and choose
Recapture from the shortcut menu.
Getting images
You can bring images directly into the software from your scanner, digital camera, or other TWAIN device.
The images are added to the Project Media list as JPEG image files.
1.
Make sure your device (scanner or digital camera) is on and connected to your computer.
2.
In the Project Media window, click the Get Photo button ( ). The software is started for the device.
3.
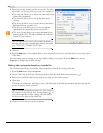
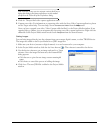
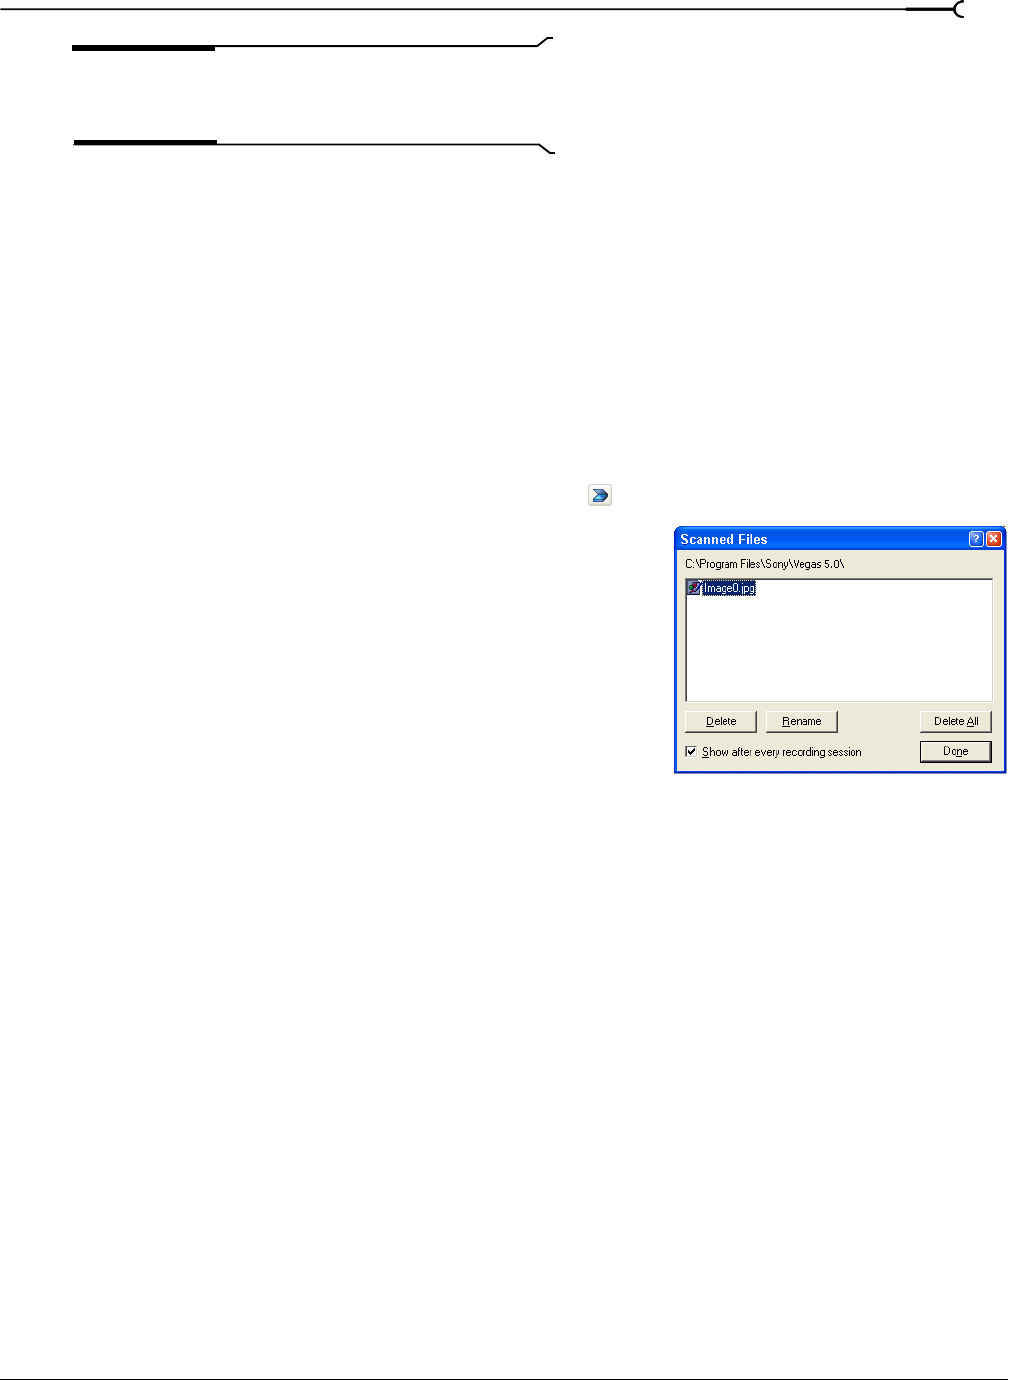
Use the device software to get an image and send it to Vegas
software. Once the image has been sent, the Scanned Files
dialog appears.
•Click Rename to give the new image a more meaningful
name.
•Click Delete to cancel the process of adding the image.
4.
Click Done. The new JPEG file is added to the Project Media
window.