


206
RECORDING AUDIO CHP. 11
Triggering from MIDI timecode
This feature is available only in the full version of Vegas software.
Recording can be triggered and synchronized by an external MIDI device that outputs (generates) MIDI
timecode (MTC). When triggering from MIDI timecode, you should have your audio devices connected
together via a master digital word clock. The word clock keeps the audio hardware locked together,
eliminating the need for the software to constantly vary its playback rate to stay synchronized. The incoming
timecode is only used for an absolute time reference. For more information, see Sync tab on page 344.
1.
From the Options menu, choose Preferences and go to the Sync tab.
2.
From the Trigger from MIDI Timecode settings drop-down list, select the device that you want to trigger
Vegas software.
3.
Click OK. The Preferences dialog closes.
4.
Click the Arm for Record button ( ) on the desired track(s).
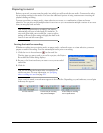
5.
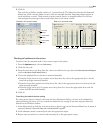
Right-click the time display and choose MIDI Timecode In. The time display now shows the timecode
being generated from your MIDI device. The top of the display reads
MTC Input Waiting.
6.
Begin generating MTC from your MIDI device. The top of the time display now reads MTC Input Locked,
the time updates from the MIDI device, and recording automatically begins. Typically, there is a short
delay between when you begin generating MTC and synchronization.
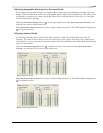
Working with multiple recorded takes
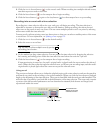
Clicking the Loop Playback button ( ) on the transport bar enables you to continually create takes during
recording. Takes are different versions of a recorded event that you can quickly switch between to choose the
best one. Each take within an event references a different source media file.
During recording with loop playback enabled, the time selection continually repeats and starts recording a
new take until you stop recording. You can preview, select, rename, and delete takes. For more information,
see Working with takes on page 130.
Specifying where recordings are stored
When you record, the event appears on the timeline while its media source file is written to your hard drive.
The first time you arm a track to record in a project, you are prompted to identify the location where the
recordings will be stored.
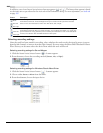
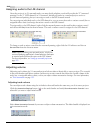
Changing where recorded files are stored when arming a track
1.
Press and click the Arm for Record button ( ) on a track. The Project Recorded Files Folder dialog
appears.
2.
Browse for the location where you want to save recorded files.
3.
Click OK.
Shift