12-25
User Guide for Resource Manager Essentials 4.1
OL-11714-01
Chapter 12 Managing Software Images Using Software Management
Software Repository
Adding Images to the Software Repository From a File System
Use the following procedure to add software images from a file system to the software repository.
You have to know the directory name in which the image files are stored before importing the images
from the File System to the software repository.
Note View Permission Report (Common Services > Server > Reports) to check if you have the required
privileges to perform this task.
To add images from file system:
Step 1 Select Resource Manager Essentials > Software Mgmt > Software Repository.
The Software Repository Management dialog box appears.
Step 2 Click Add. Do not select any images from the Software Repository Management window.
The Image Source dialog box appears in the Add Images window.
Step 3 Click File System, and click Next.
The Add Image From Local File System dialog box appears.
Step 4 Enter the full pathname of the source file or directory.
Or
a. Click Browse to search for the directory name.
The Server Side File Browser dialog box appears.
b. Select either the file or the directory on the RME server.
c. Click OK.
Step 5 Click Next.
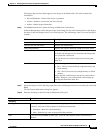
The Image Attributes dialog box appears with this information:
• Filename—Filename as it appears in filesystem directory.
You cannot add an image if a file with the same name already exists in the software repository or if
the minimum required attributes cannot be retrieved.
• Image Type—Image type, determined from the filename. If the image type is not correct, select
correct type from drop-down list box.
Software Management tries to determine the image type from the filename. If it cannot determine
the image type (for example, if the image has been renamed to a nonstandard name), it labels the
image type as
Unknown.
By default, the check boxes of the images that are not in the software repository are selected. You can
choose not to add an image by deselecting the corresponding check box.
Step 6 Click Next.
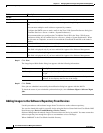
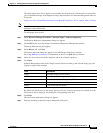
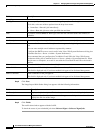
The Image Attributes window appears with the following information for verification:


