12-48
User Guide for Resource Manager Essentials 4.1
OL-11714-01
Chapter 12 Managing Software Images Using Software Management
Software Distribution
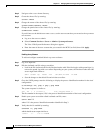
Step 2 Navigate to the cwuser home directory.
Step 3 Create the .rhosts file, by entering:
# touch .rhosts
Step 4 Change the owner of the .rhosts file, by entering:
# chown cwuser:casusers .rhosts
Step 5 Change the permissions of the .rhosts file, by entering:
# chmod 0664 .rhosts
If you did not use the default user name cwuser, use the user account that you created as the rcp remote
user account.
a. Log on to the server as admin.
b. Select Common Services > Server > Admin > System preferences.
The View / Edit System Preferences dialog box appears.
c. Enter the name of the user account that you created in the RCP User field, then click Apply.
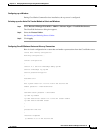
Enabling the rcp Daemon
To add and configure standard Solaris rcp server software:
Step 1 Log in as superuser.
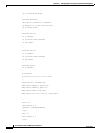
Step 2 Edit the /etc/inetd.conf file using a text editor.
• Look in the file /etc/inetd.conf for the line that invokes rshd. If the line begins with a pound sign (#),
remove the pound sign with a text editor. Depending on your system, the line that invokes the rshd
server might look similar to:
shell stream tcp nowait root /usr/sbin/in.rshd in.rshd
• Save the changes to the edited file and exit the text editor.
Step 3 Go to the UNIX prompt, enter the following to display the process identification number for the inetd
configuration:
# /usr/bin/ps -ef | grep -v grep | grep inetd
The system response is similar to:
root 119 1 0 12:56:14 ? 0:00 /usr/bin/inetd -s
The first number in the output (119) is the process identification number of the inetd configuration.
Step 4 Enable your system to read the edited /etc/inetd.conf file, enter:
# kill -HUP 119
where 119 is the process identification number identified in Step 3.
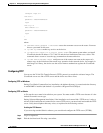
Step 5 Verify that rshd is enabled by entering:
# netstat -a | grep shell
which should return output similar to:
*.shell *.* 0 0 0 0 LISTEN


